> ## Documentation Index
> Fetch the complete documentation index at: https://hedra.com/docs/llms.txt
> Use this file to discover all available pages before exploring further.
# Elements 201: Creators
> Learn how to design and build Elements for consistent, repeatable content creation.
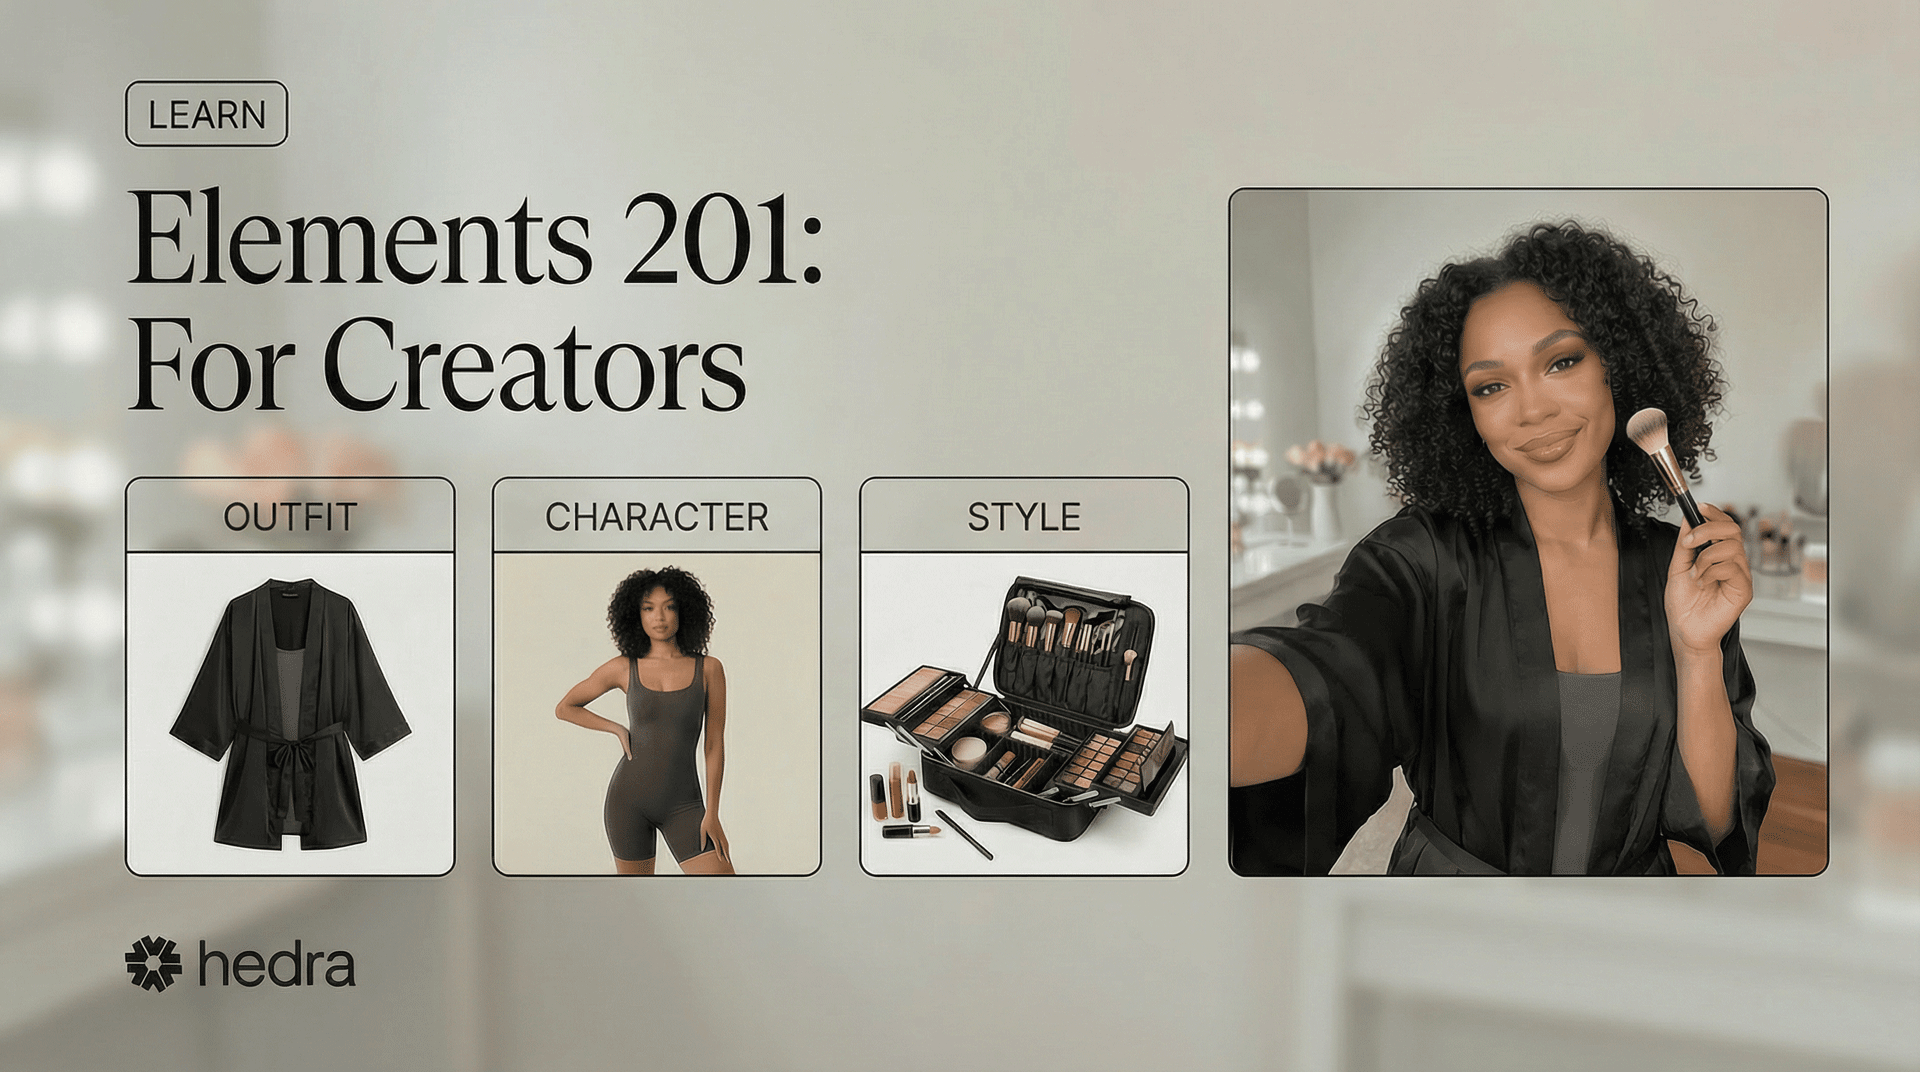 This lesson assumes you have prior experience using, combining and creating Elements on Hedra.
If not, please review [Elements 101: Beginners Guide](https://www.hedra.com/docs/pages/app/content-creation/elements-101-beginners-guide)
At the end of this lesson, you will understand:
* Advanced Element Creation
* Outfit Layout Design Basics
* New Element Types
* Building Makeup Kit Styles
* Troubleshooting Elements
## What Are Elements... Really?!
In 101, you learned that an Element is a saved image you can reuse for consistency. That’s true — but it’s only the starting point.
Under the hood, Elements guide the AI using visual information and embedded intent. The way you design an Element — what it includes and what it excludes — acts as instruction.
When an Element is clear and focused, the AI has less room to guess. When it’s overloaded or undefined, results can vary.
In 201, you’ll learn how to design Elements that communicate clearly — not just to people, but to the system generating your content.
### Understanding Elements at the Core
To create customized content — whether for brands, short series, music videos, UGC, AI personas, or influencers — strong Element design becomes essential.
Elements provide the structure behind your results. The more intentionally they are built, the more control you have when combining them.
We’ll examine how Elements are usually designed — and how refining their structure improves stability when layering multiple Elements together.
### How Elements Are Commonly Designed
This lesson assumes you have prior experience using, combining and creating Elements on Hedra.
If not, please review [Elements 101: Beginners Guide](https://www.hedra.com/docs/pages/app/content-creation/elements-101-beginners-guide)
At the end of this lesson, you will understand:
* Advanced Element Creation
* Outfit Layout Design Basics
* New Element Types
* Building Makeup Kit Styles
* Troubleshooting Elements
## What Are Elements... Really?!
In 101, you learned that an Element is a saved image you can reuse for consistency. That’s true — but it’s only the starting point.
Under the hood, Elements guide the AI using visual information and embedded intent. The way you design an Element — what it includes and what it excludes — acts as instruction.
When an Element is clear and focused, the AI has less room to guess. When it’s overloaded or undefined, results can vary.
In 201, you’ll learn how to design Elements that communicate clearly — not just to people, but to the system generating your content.
### Understanding Elements at the Core
To create customized content — whether for brands, short series, music videos, UGC, AI personas, or influencers — strong Element design becomes essential.
Elements provide the structure behind your results. The more intentionally they are built, the more control you have when combining them.
We’ll examine how Elements are usually designed — and how refining their structure improves stability when layering multiple Elements together.
### How Elements Are Commonly Designed
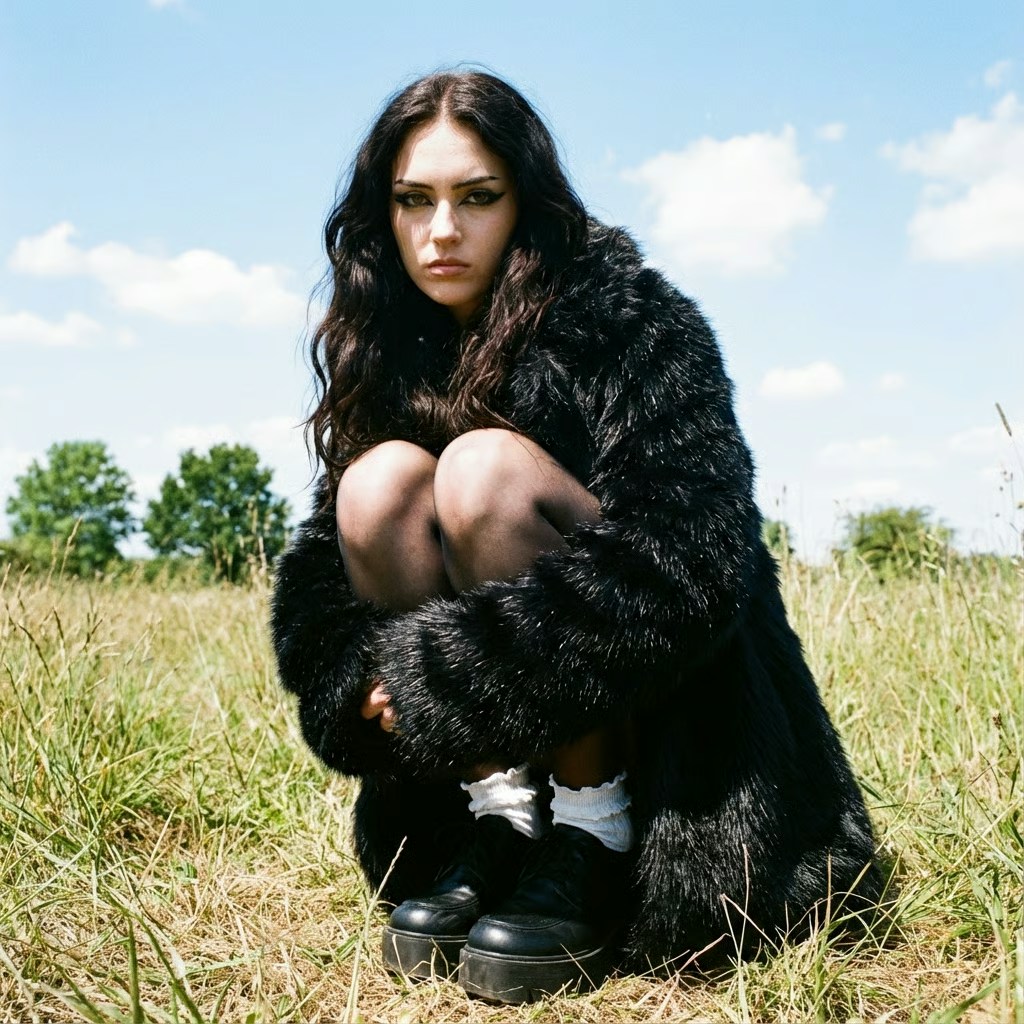
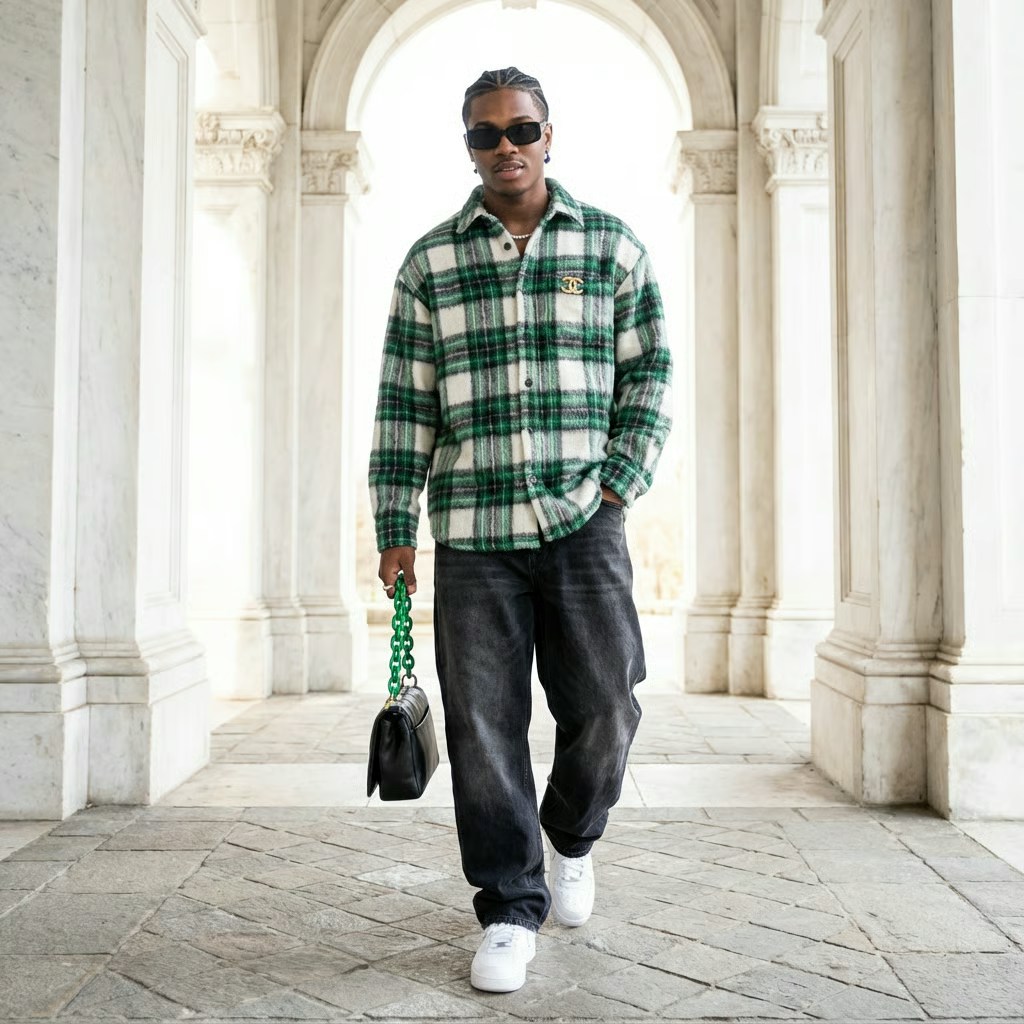
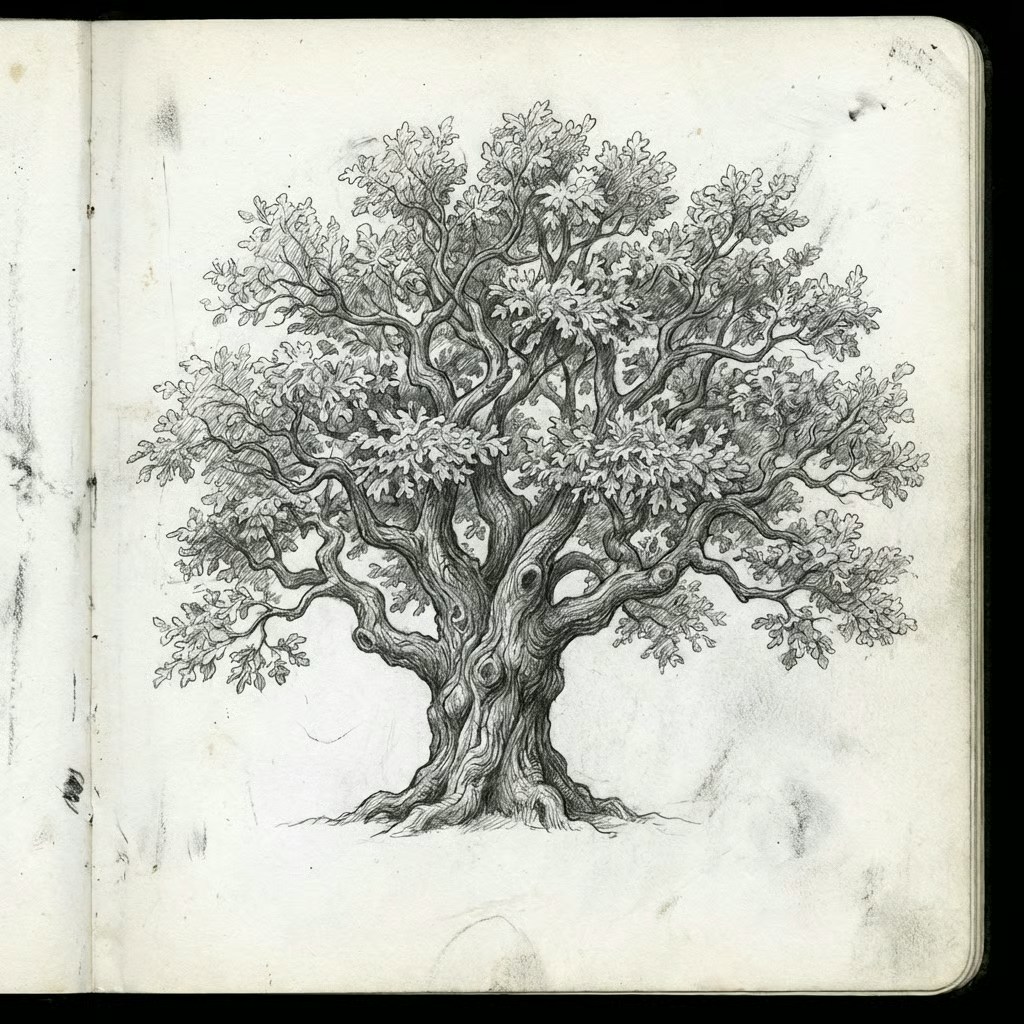
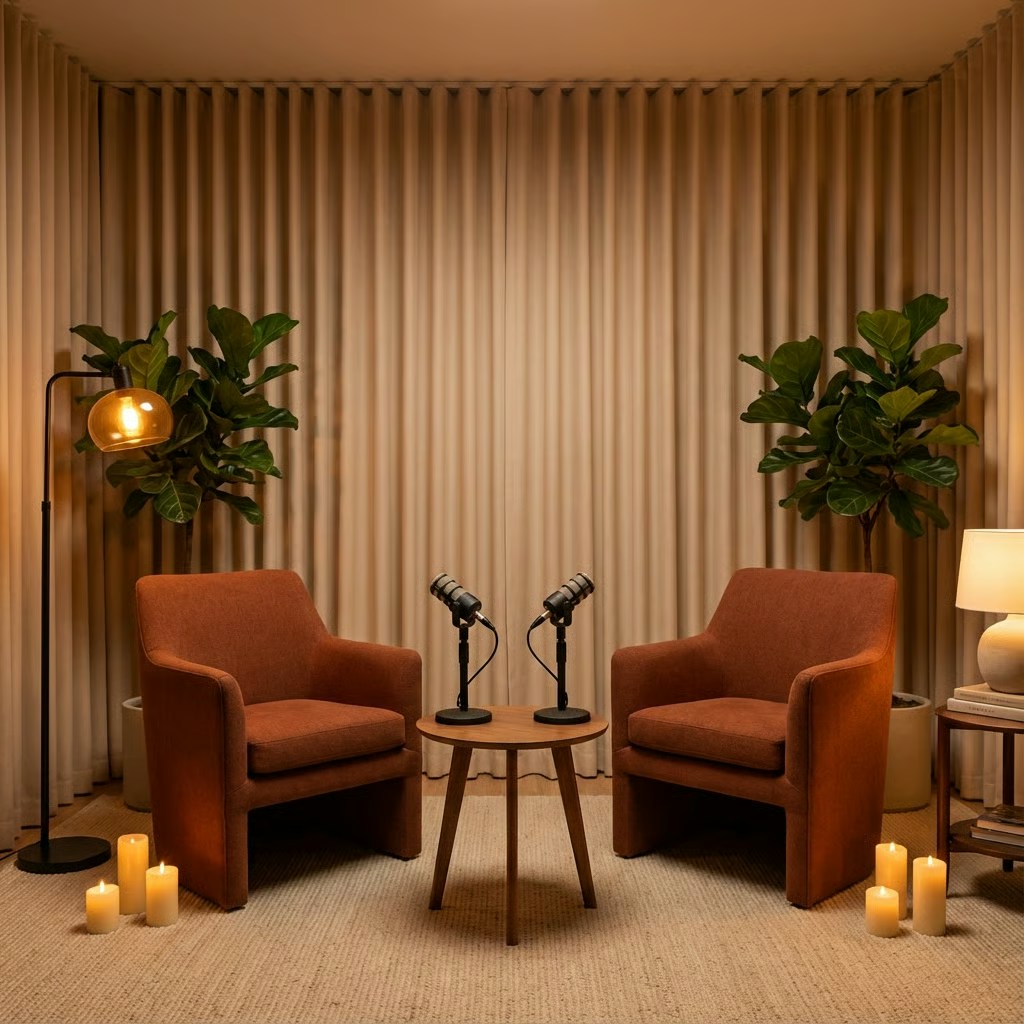
 Most Elements are created as complete “looks.”
A Character might include:
* Face
* Hair
* Clothing
* Pose
* Lighting
* Background
An Outfit might include:
* A full person wearing the clothes
* Styling
* Accessories
* Environment
A Style Element may include:
* Subject
* Lighting
* Color grading
* Composition
On the surface, this makes sense. It looks polished and appealing.
But when multiple Elements each contain several variables, they begin to overlap. The system must interpret which parts to prioritize.
That’s where variation begins.
This isn’t a flaw — it’s simply how generative systems interpret layered visual inputs.
The more variables bundled into a single Element, the more interpretation is required when combining them.
## Designing Elements for Control
Generative AI systems are probabilistic — not deterministic like traditional software. Given many possible outcomes, your role is to narrow that possibility space through clear and intentional design.
Elements are how you apply that constraint.
When designed thoughtfully, they reduce ambiguity and increase predictability — giving you more control over the final result.
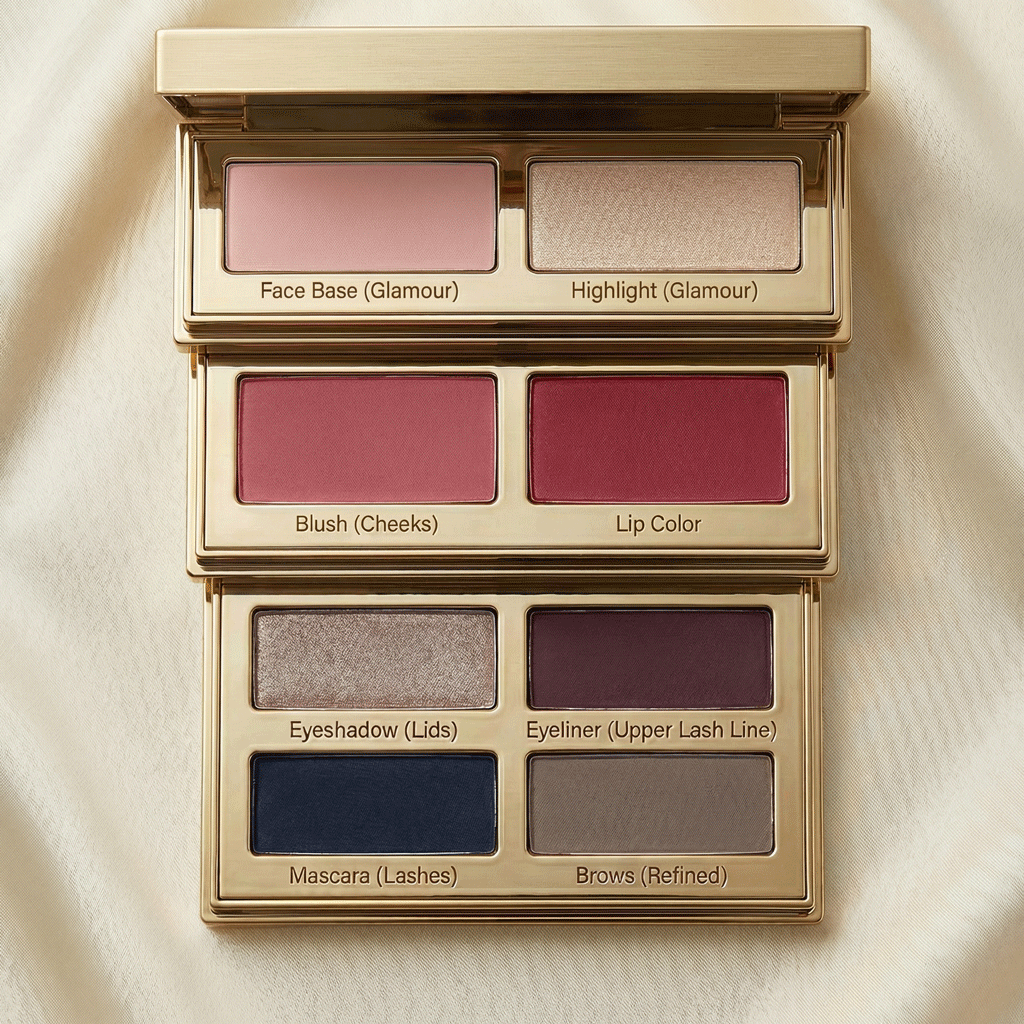
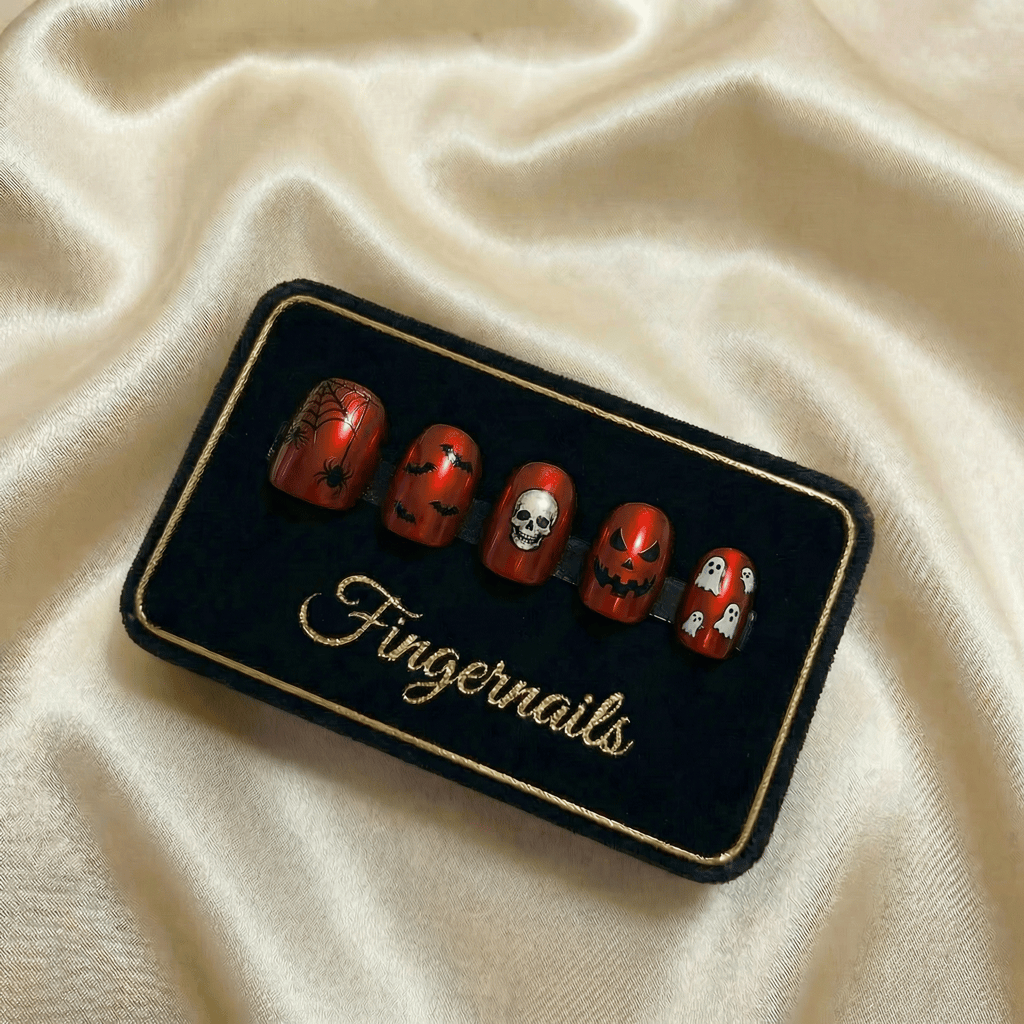
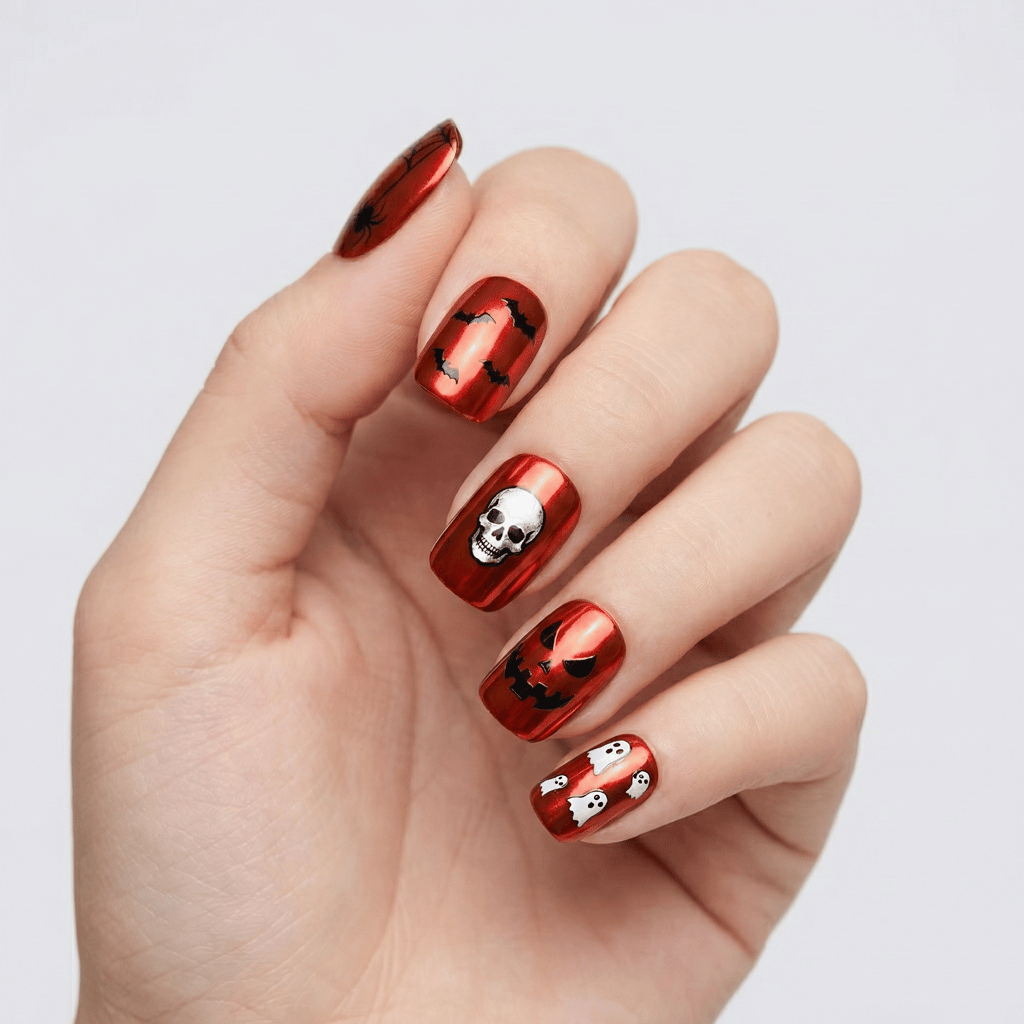
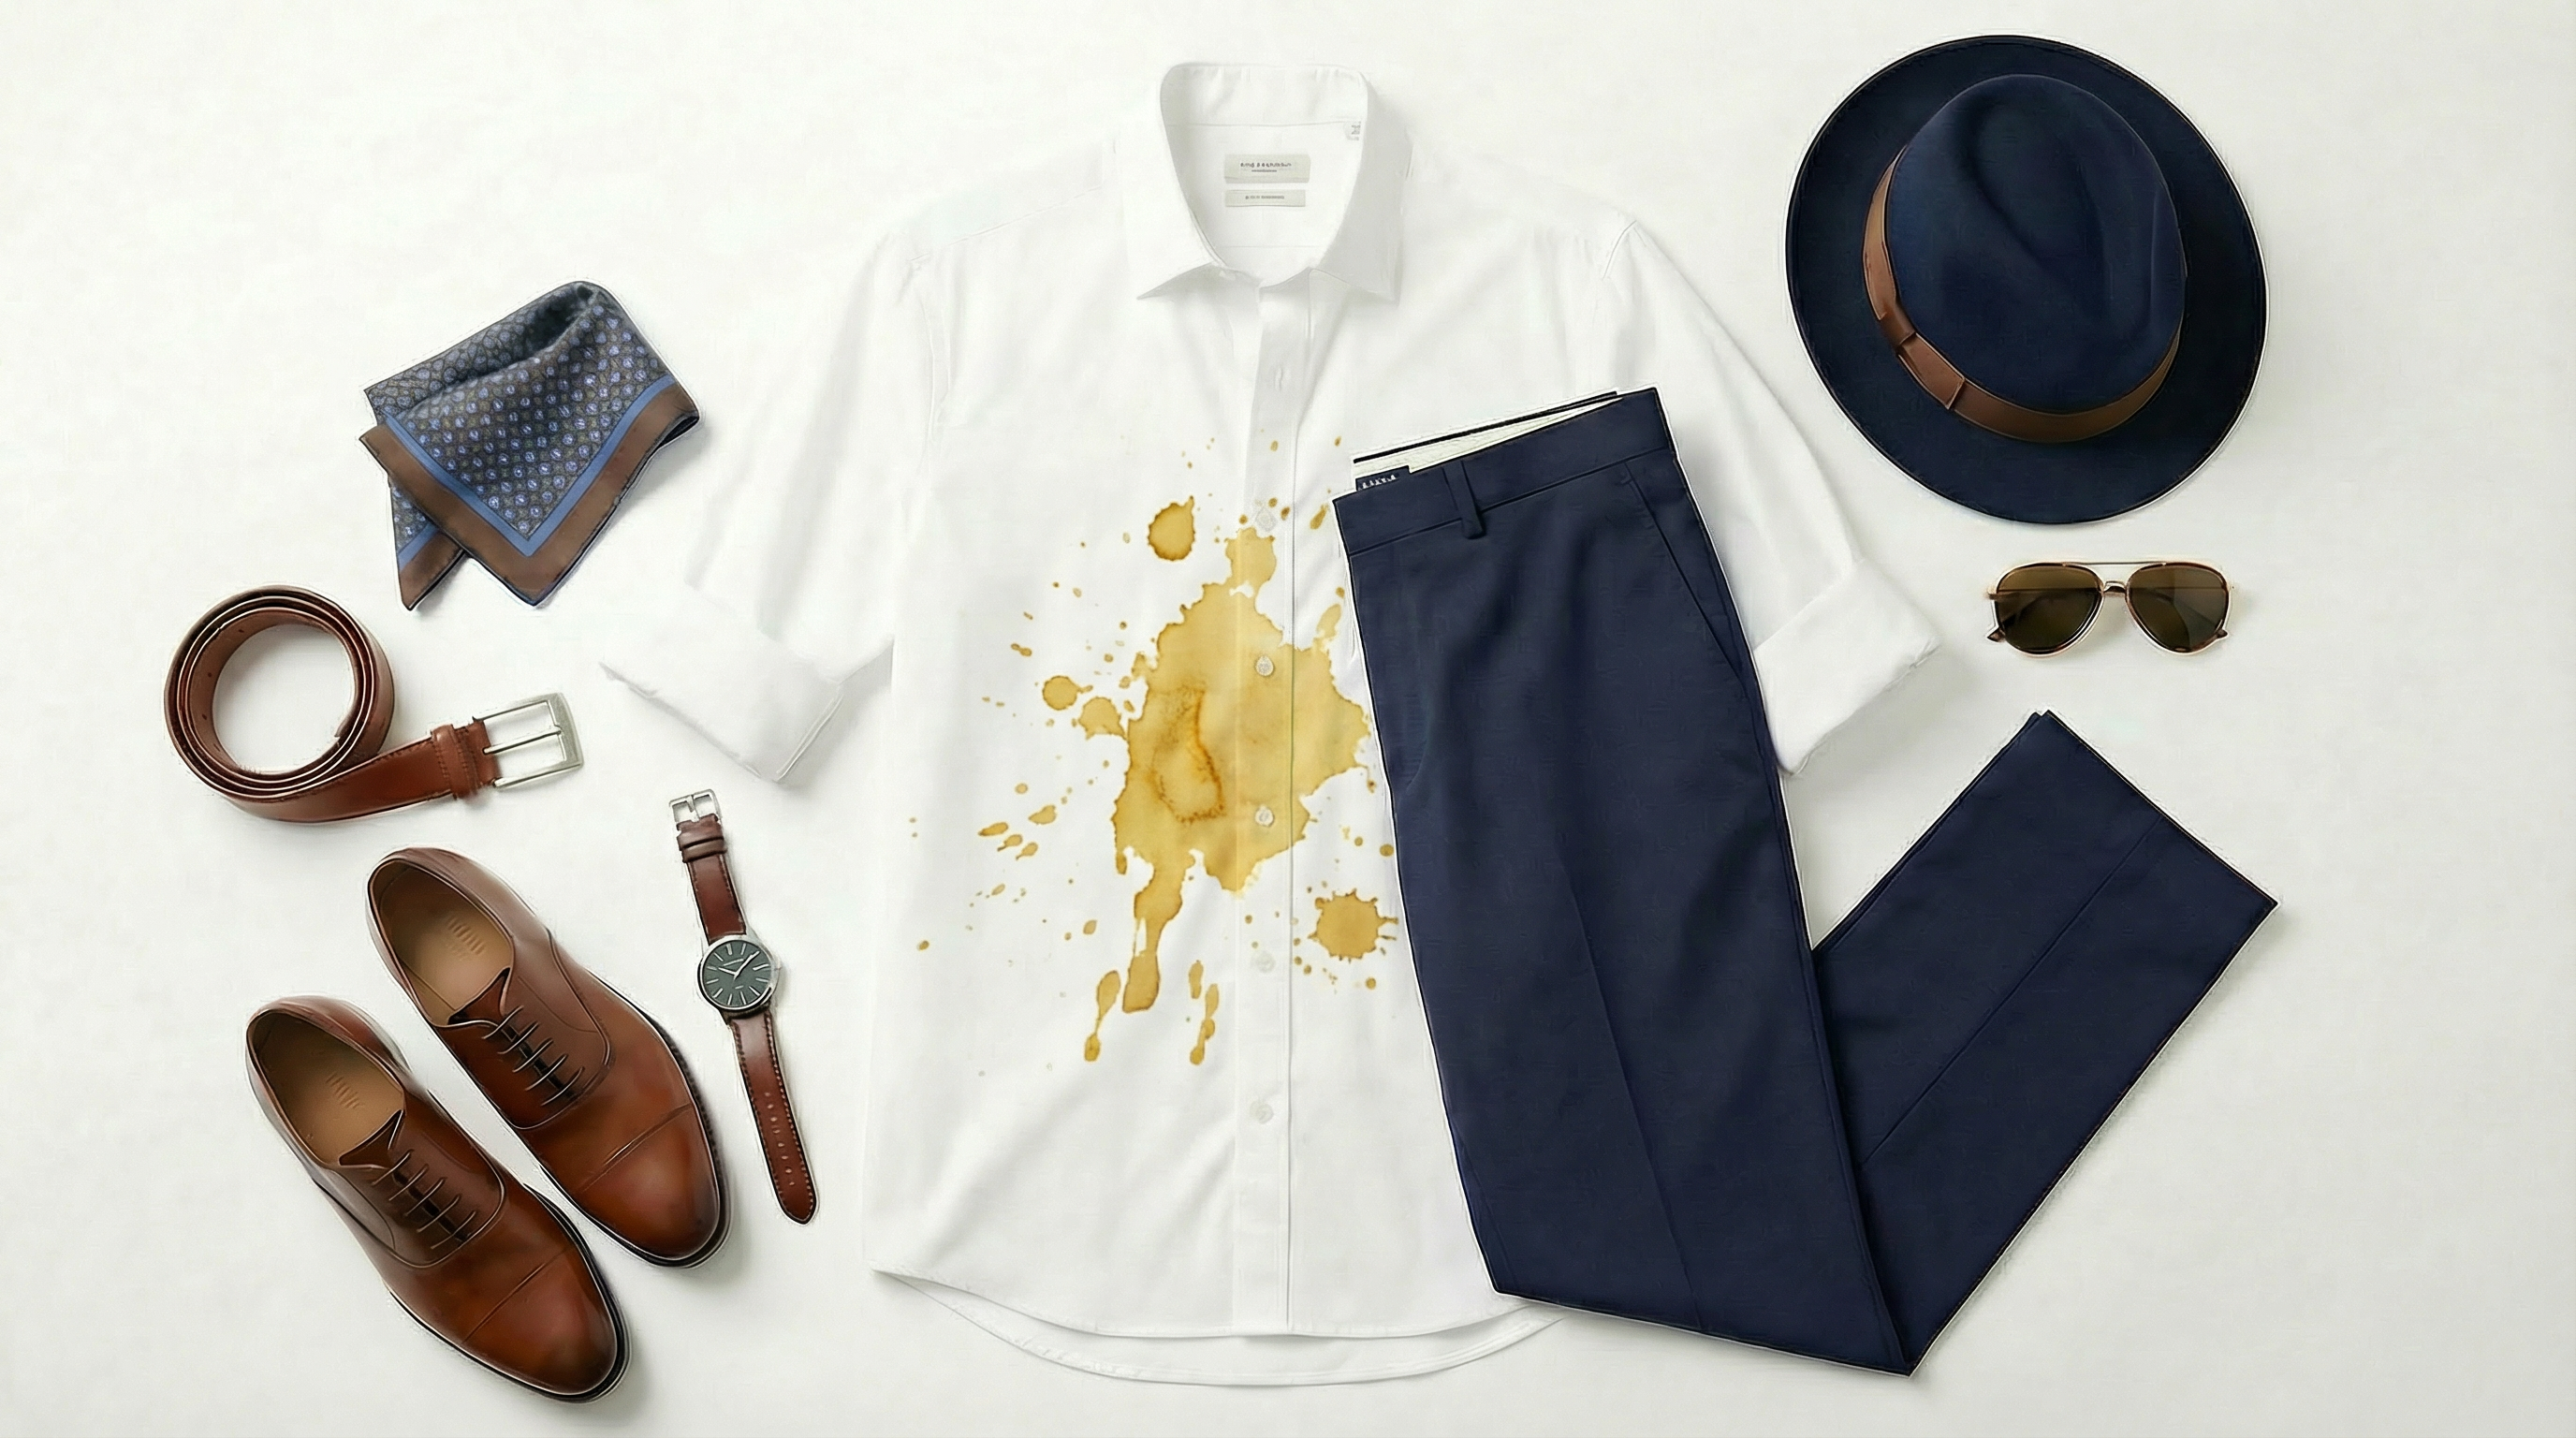
*Here are several examples of Elements designed with structured intent.*
Most Elements are created as complete “looks.”
A Character might include:
* Face
* Hair
* Clothing
* Pose
* Lighting
* Background
An Outfit might include:
* A full person wearing the clothes
* Styling
* Accessories
* Environment
A Style Element may include:
* Subject
* Lighting
* Color grading
* Composition
On the surface, this makes sense. It looks polished and appealing.
But when multiple Elements each contain several variables, they begin to overlap. The system must interpret which parts to prioritize.
That’s where variation begins.
This isn’t a flaw — it’s simply how generative systems interpret layered visual inputs.
The more variables bundled into a single Element, the more interpretation is required when combining them.
## Designing Elements for Control
Generative AI systems are probabilistic — not deterministic like traditional software. Given many possible outcomes, your role is to narrow that possibility space through clear and intentional design.
Elements are how you apply that constraint.
When designed thoughtfully, they reduce ambiguity and increase predictability — giving you more control over the final result.
*Here are several examples of Elements designed with structured intent.*
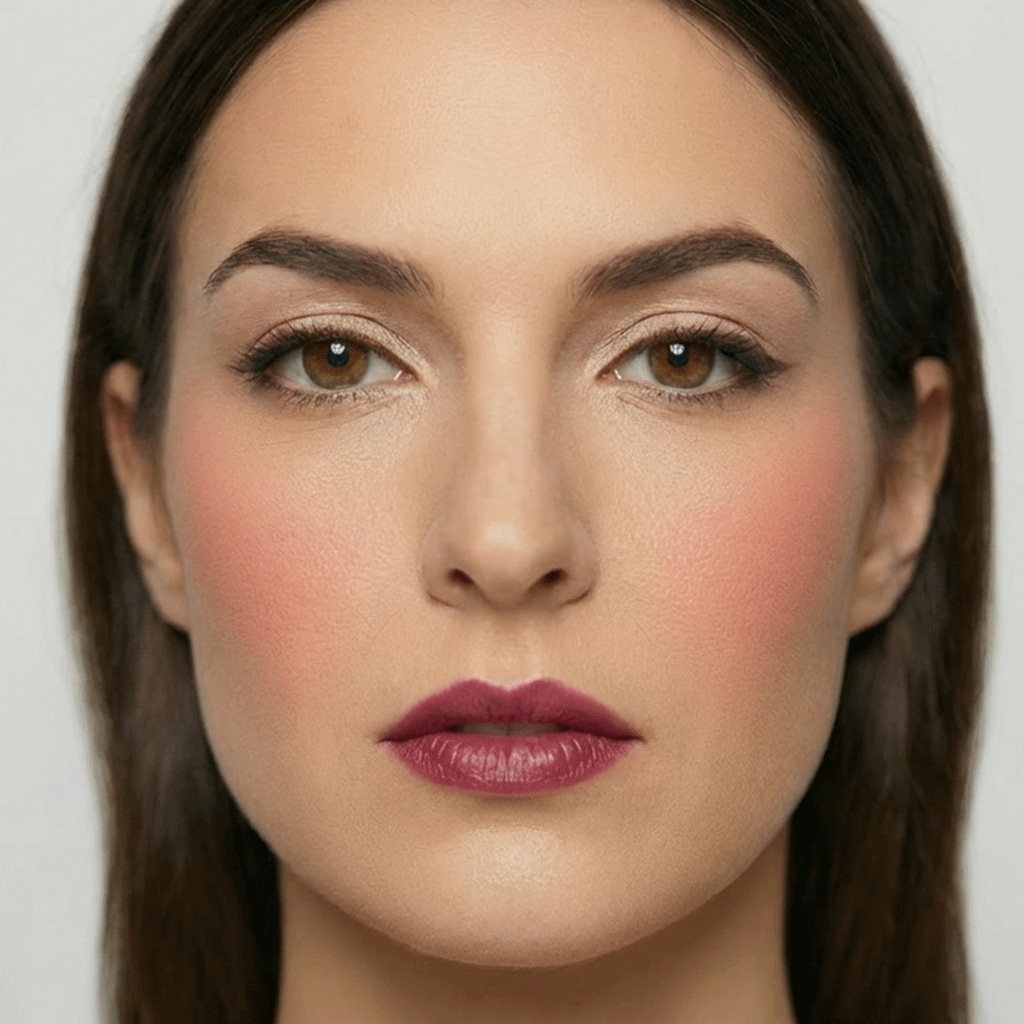
 ### From Monolithic Images to Structured Visual Data
In earlier generative workflows, most AI images were created as complete, self-contained outputs.
Everything was baked into one result:
* Clothing
* Makeup
* Nails
* Accessories
* Lighting
* Pose
* Mood
There were no practical tools for separating those components. If you wanted something to change, you regenerated the entire image (unless you're proficient with image editing tools like Photoshop).
That was alright when consistency meant “close enough.”
But as creative workflows mature — and as compositional tools improve — the need for more granular control becomes clear.
That shift — from monolithic images to modular design — is where greater control and flexability begins.
## Creating a Consistent Character
When a character doesn’t look the way you expect, start by reviewing the images that define your Element.
**Anchors:** The image (or images) used to define an Element act as visual anchors. The clarity and strength of those anchors directly influence the result.
### From Monolithic Images to Structured Visual Data
In earlier generative workflows, most AI images were created as complete, self-contained outputs.
Everything was baked into one result:
* Clothing
* Makeup
* Nails
* Accessories
* Lighting
* Pose
* Mood
There were no practical tools for separating those components. If you wanted something to change, you regenerated the entire image (unless you're proficient with image editing tools like Photoshop).
That was alright when consistency meant “close enough.”
But as creative workflows mature — and as compositional tools improve — the need for more granular control becomes clear.
That shift — from monolithic images to modular design — is where greater control and flexability begins.
## Creating a Consistent Character
When a character doesn’t look the way you expect, start by reviewing the images that define your Element.
**Anchors:** The image (or images) used to define an Element act as visual anchors. The clarity and strength of those anchors directly influence the result.
 ### Drift
Drift happens when an output deviates from your intended result.
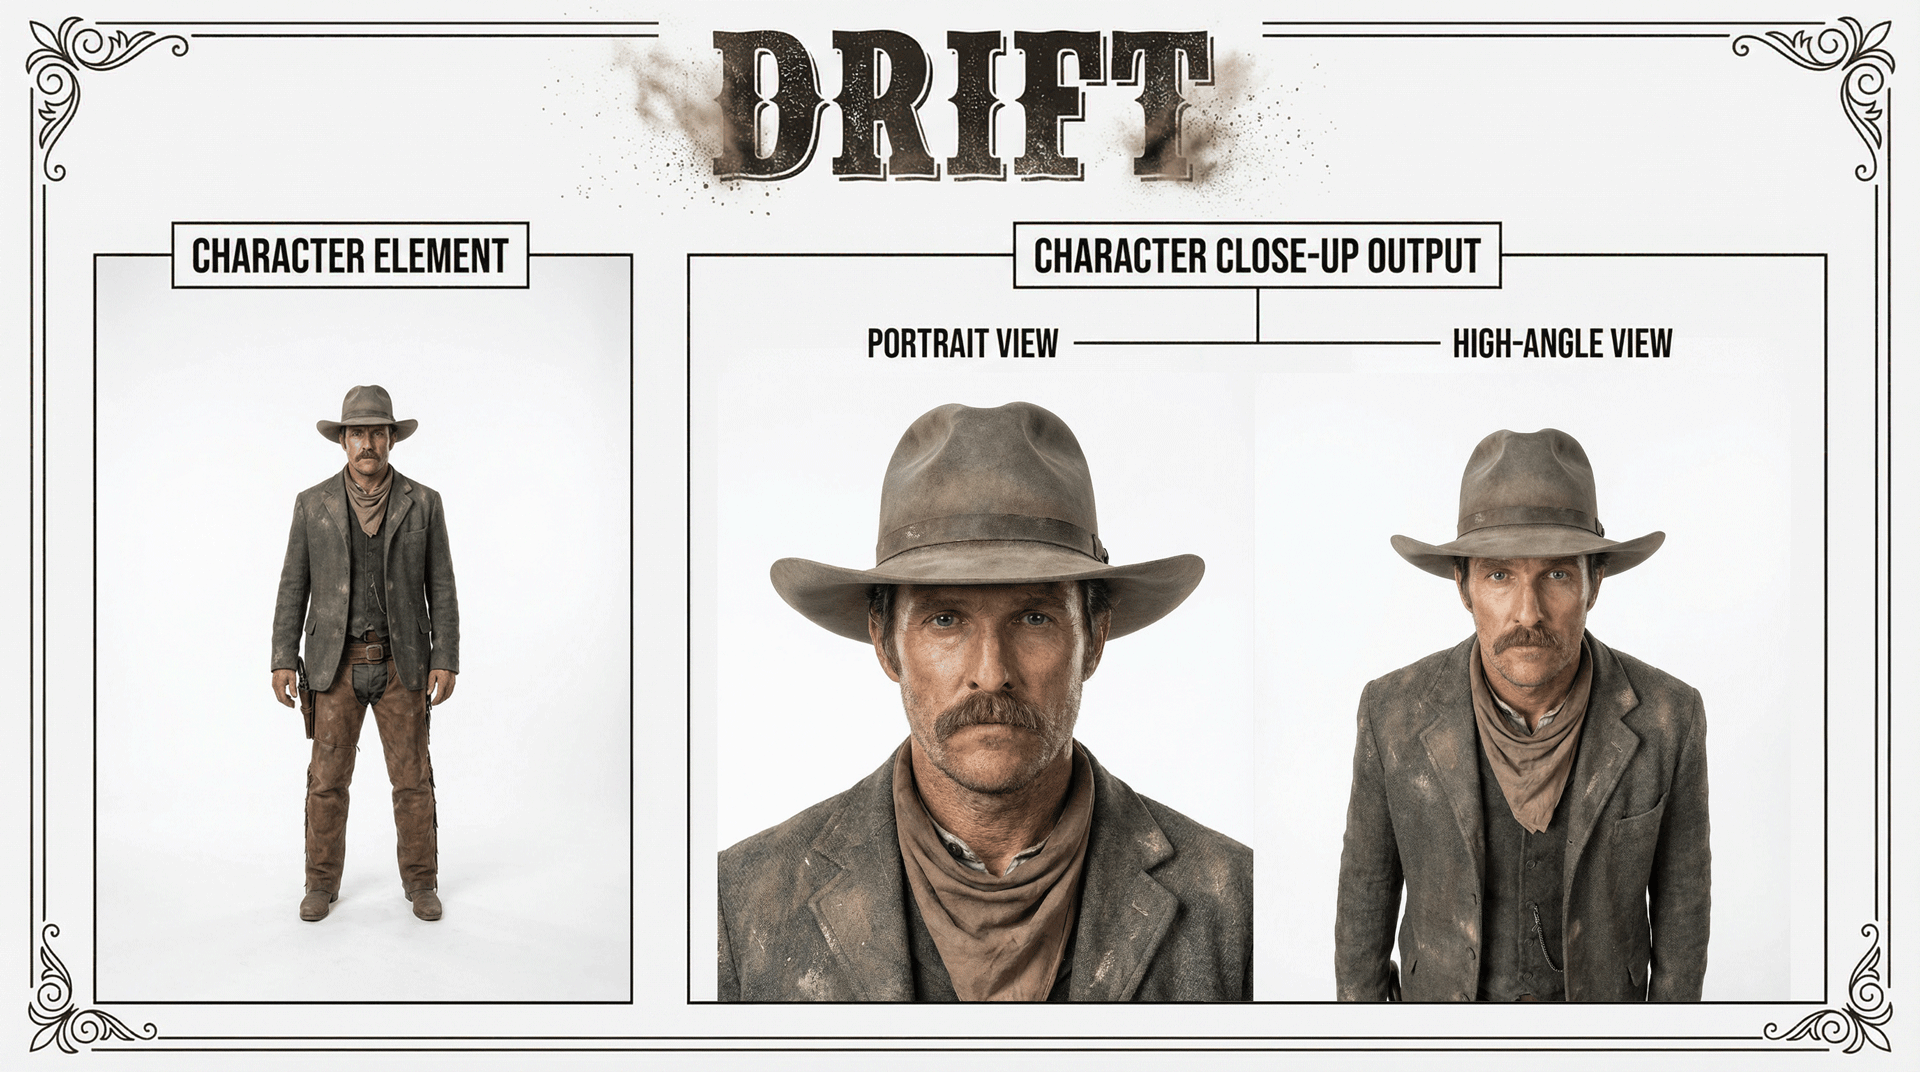
In the example above, a single full-body image was used as the Character Element. When generating close-up views, the face occupied only a small portion of the original anchor. This results in a weak anchor.
With limited detail to reference, the system must interpret missing information. That interpretation — or guessing — can produce variation, or drift.
The clearer and more defined your Element, the less room there is for deviation.
Drift isn’t random. It’s a signal that something wasn’t fully constrained.
### Reference Limits
Modern image models allow multiple reference images in a single generation. These references help anchor identity and objects, but they are not unlimited.
For example, as of this writing:
* **Gemini 3.1 Flash (Nano Banana 2)** supports up to 14 total references:
* 4 character references
* 10 object references
* **Gemini 3 Pro (Nano Banana Pro)** supports up to 11 total references:
* 5 character references
* 6 object references
These categories matter. Character references are optimized for identity consistency, while object references support items like outfits, props, or kits.
However, the number of references is not the primary source of control.
Adding more references does not automatically increase stability. When too many images compete within a generation, the system must reconcile overlapping signals.
Well-designed Elements rely on clarity, not quantity. Focused anchors often outperform overloaded sets.
Clear structure reduces dependency on volume.
### Strong Anchors, Simpler Prompts
A strong Element also reduces the amount of prompting required.
When it's clear and focused, the system has less ambiguity to resolve. Prompts can remain short and direct.
When an anchor is weak or overloaded, you compensate by adding more instructions — reinforcing identity, correcting details, or clarifying intent.
As a general rule:
> **The stronger the anchor, the simpler the prompt.**
Good Element design reduces the need for complex prompt engineering.
### Designing a Strong Character
When building one, focus on clarity and signal strength.
**1. Choose a clear anchor image**\
Use an image where the face and defining features are easy to see. Avoid using makeup. Keep facial expressions neutral. Full body shots should be coupled with a closeup.
**2. Avoid unnecessary variables**\
Busy backgrounds, extreme lighting, or strong poses introduce extra signal that competes with identity.
**3. Define what matters visually**\
If age, build, or proportions are important, make them clearly visible in the anchor.
**4. Keep one purpose per Element**\
Your Character Element should define identity — not outfit, environment, or mood.
The goal is not perfection.\
The goal is reducing guesswork.
## What Makes This a Strong Character Element?
### Drift
Drift happens when an output deviates from your intended result.
In the example above, a single full-body image was used as the Character Element. When generating close-up views, the face occupied only a small portion of the original anchor. This results in a weak anchor.
With limited detail to reference, the system must interpret missing information. That interpretation — or guessing — can produce variation, or drift.
The clearer and more defined your Element, the less room there is for deviation.
Drift isn’t random. It’s a signal that something wasn’t fully constrained.
### Reference Limits
Modern image models allow multiple reference images in a single generation. These references help anchor identity and objects, but they are not unlimited.
For example, as of this writing:
* **Gemini 3.1 Flash (Nano Banana 2)** supports up to 14 total references:
* 4 character references
* 10 object references
* **Gemini 3 Pro (Nano Banana Pro)** supports up to 11 total references:
* 5 character references
* 6 object references
These categories matter. Character references are optimized for identity consistency, while object references support items like outfits, props, or kits.
However, the number of references is not the primary source of control.
Adding more references does not automatically increase stability. When too many images compete within a generation, the system must reconcile overlapping signals.
Well-designed Elements rely on clarity, not quantity. Focused anchors often outperform overloaded sets.
Clear structure reduces dependency on volume.
### Strong Anchors, Simpler Prompts
A strong Element also reduces the amount of prompting required.
When it's clear and focused, the system has less ambiguity to resolve. Prompts can remain short and direct.
When an anchor is weak or overloaded, you compensate by adding more instructions — reinforcing identity, correcting details, or clarifying intent.
As a general rule:
> **The stronger the anchor, the simpler the prompt.**
Good Element design reduces the need for complex prompt engineering.
### Designing a Strong Character
When building one, focus on clarity and signal strength.
**1. Choose a clear anchor image**\
Use an image where the face and defining features are easy to see. Avoid using makeup. Keep facial expressions neutral. Full body shots should be coupled with a closeup.
**2. Avoid unnecessary variables**\
Busy backgrounds, extreme lighting, or strong poses introduce extra signal that competes with identity.
**3. Define what matters visually**\
If age, build, or proportions are important, make them clearly visible in the anchor.
**4. Keep one purpose per Element**\
Your Character Element should define identity — not outfit, environment, or mood.
The goal is not perfection.\
The goal is reducing guesswork.
## What Makes This a Strong Character Element?
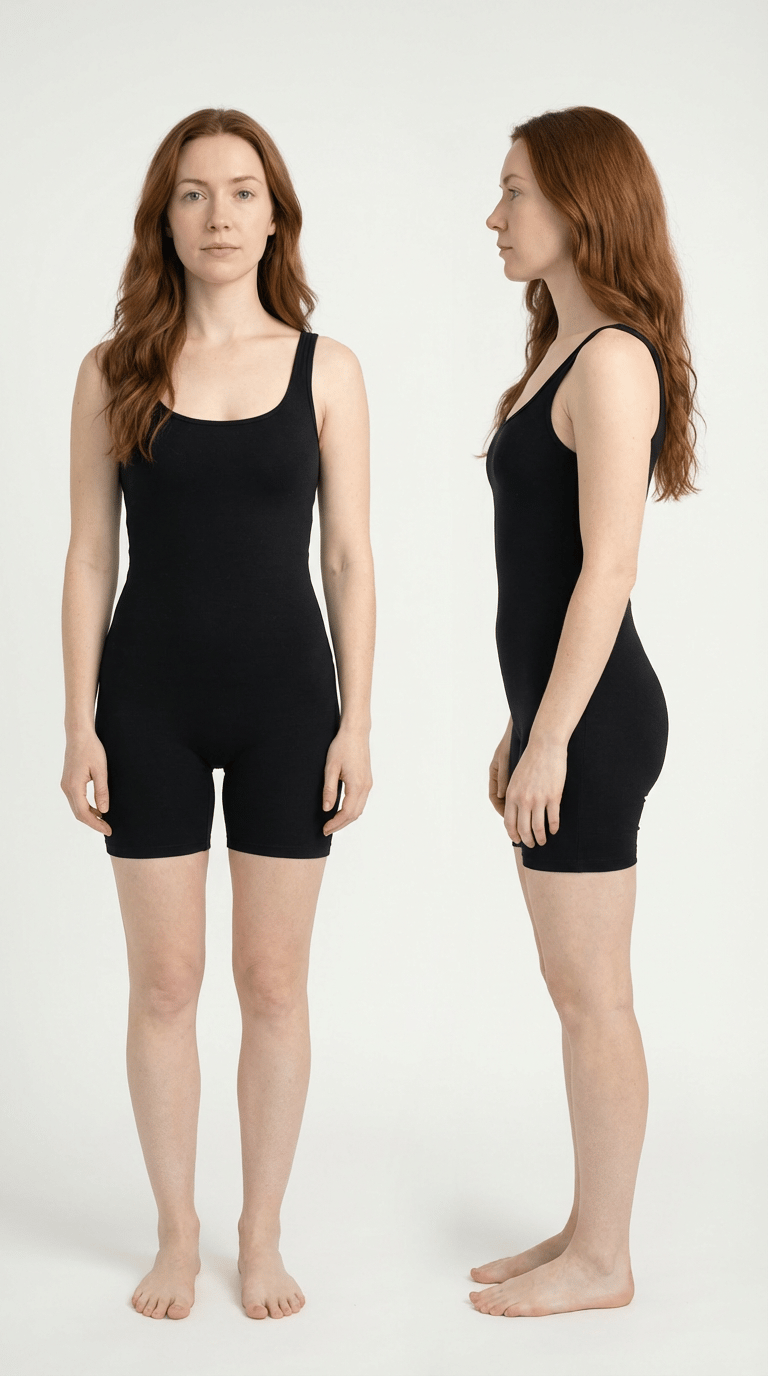

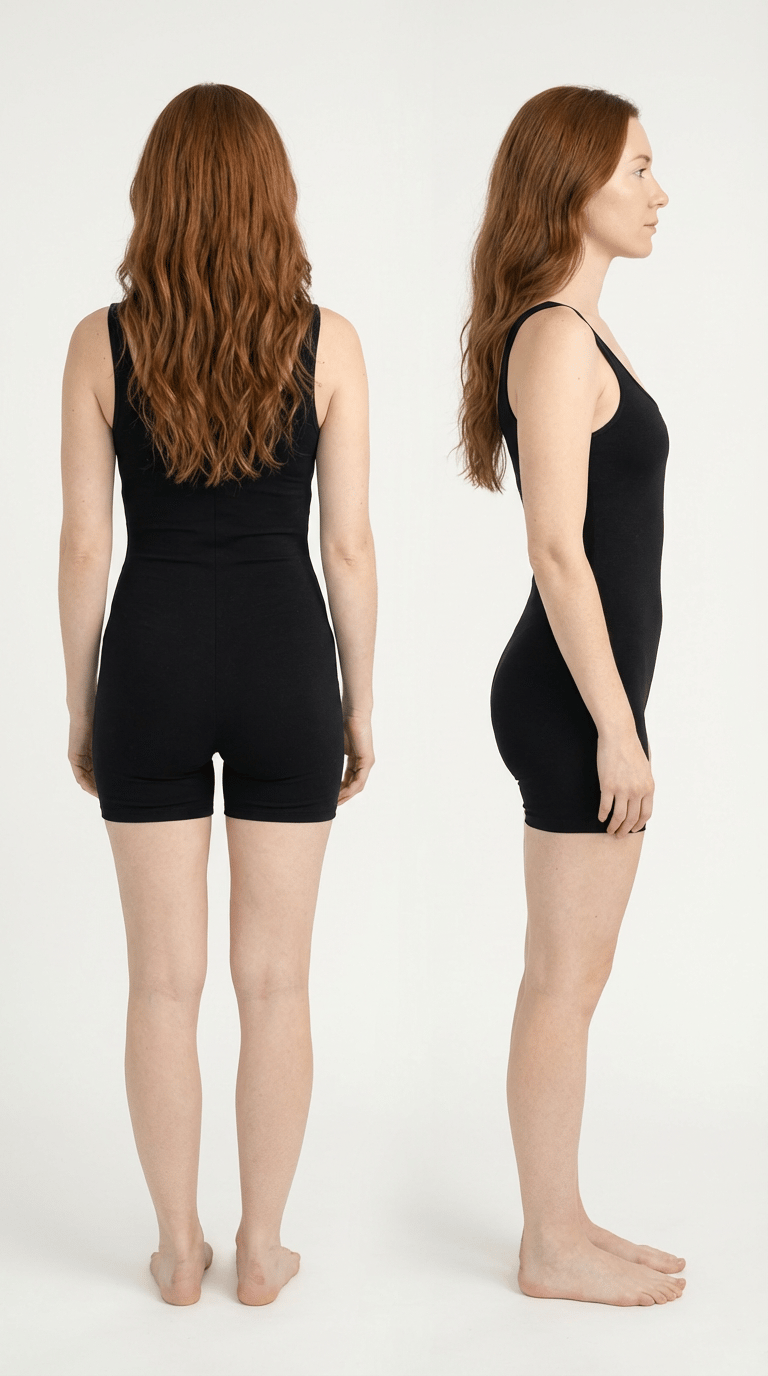 This Character includes:
* A front view
* A side profile
* A back view
* A close facial crop
Together, these images define the character across multiple dimensions — not just appearance, but structure.
**1. Facial Detail Is Clearly Defined**\
The close-up image anchors eye shape, nose structure, lip form, skin tone, and hairline. This reduces identity variation when generating tighter shots or different camera angles.
**2. Body Proportions Are Locked In**\
Full-body front and side views define height, limb length, shoulder width, torso depth, and silhouette. This prevents subtle reshaping when outfits or poses change.
**3. Silhouette and Mass Are Established**\
The back view defines hair volume, posture, and body mass distribution. This helps maintain consistency across movement and styling changes.
**4. Multiple Angles Reduce Guesswork**\
When only one angle is provided, the system must infer missing geometry. By providing front, side, and back references, fewer assumptions are required — and identity remains more stable.
### Why This Matters
When identity is clearly defined, you can confidently:
* Change outfits
* Adjust makeup
* Modify lighting
* Shift camera angles
* Introduce props
* Build variations
The character remains recognizable because the foundational structure is constrained.
## Let's Design A Strong Character
You can use an existing image or create a new one. Whether you're uploading a picture of yourself or have a specific character in mind, these prompts should work for most types.
### Starting Character Prompt Examples:
**New Character Image:**
> **Create an image of (describe your character here). They are standing against a soft-white backdrop, studio lighting. Standing upright, eyes forward at the camera. They're wearing black unitard tank top shorts. Neutral expression. No makeup.**
**Existing Character Image:**
> **Create an image of the character in Reference 1. They are standing against a soft-white backdrop, studio lighting. Standing upright, eyes forward at the camera. They're wearing black unitard tank top shorts. Neutral expression. No makeup.**
This Character includes:
* A front view
* A side profile
* A back view
* A close facial crop
Together, these images define the character across multiple dimensions — not just appearance, but structure.
**1. Facial Detail Is Clearly Defined**\
The close-up image anchors eye shape, nose structure, lip form, skin tone, and hairline. This reduces identity variation when generating tighter shots or different camera angles.
**2. Body Proportions Are Locked In**\
Full-body front and side views define height, limb length, shoulder width, torso depth, and silhouette. This prevents subtle reshaping when outfits or poses change.
**3. Silhouette and Mass Are Established**\
The back view defines hair volume, posture, and body mass distribution. This helps maintain consistency across movement and styling changes.
**4. Multiple Angles Reduce Guesswork**\
When only one angle is provided, the system must infer missing geometry. By providing front, side, and back references, fewer assumptions are required — and identity remains more stable.
### Why This Matters
When identity is clearly defined, you can confidently:
* Change outfits
* Adjust makeup
* Modify lighting
* Shift camera angles
* Introduce props
* Build variations
The character remains recognizable because the foundational structure is constrained.
## Let's Design A Strong Character
You can use an existing image or create a new one. Whether you're uploading a picture of yourself or have a specific character in mind, these prompts should work for most types.
### Starting Character Prompt Examples:
**New Character Image:**
> **Create an image of (describe your character here). They are standing against a soft-white backdrop, studio lighting. Standing upright, eyes forward at the camera. They're wearing black unitard tank top shorts. Neutral expression. No makeup.**
**Existing Character Image:**
> **Create an image of the character in Reference 1. They are standing against a soft-white backdrop, studio lighting. Standing upright, eyes forward at the camera. They're wearing black unitard tank top shorts. Neutral expression. No makeup.**
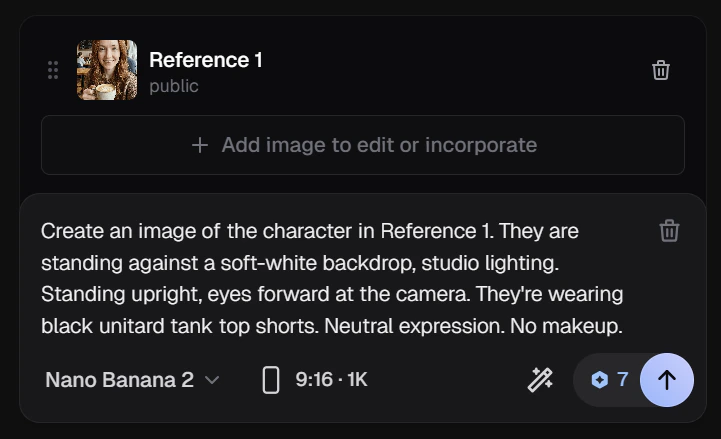 If you're using an existing picture, let's say yourself, hit **Add image to edit or incorporate. Upload** the image. You can also use the **Camera**, pull from the **Library**, or pick an **Element**.
### Character Images (9:16 vs 16:9)
When building a Character Element, vertical (9:16) framing often produces stronger identity anchors than wide (16:9) framing.
Characters are vertical subjects. In a 9:16 image, the face and body occupy more of the frame, increasing identity signal density.
In wider frames, more space is given to background, reducing facial detail and anchor strength.
When identity stability matters, keep the subject prominent and minimize unnecessary background.
Set the aspect ratio to 9:16. The resolution can be at the lowest (1K) until you have an image you want to use. Then you can increase the resolution to 4K.
### Why a Minimal Neutral Outfit Matters
When designing a Character Element intended for wardrobe changes, start with a neutral base layer.
In this example, the character is wearing a simple, fitted tank top and shorts (a unitard-style base).
This isn’t about style — it’s about structure.
A minimal base layer helps for three reasons:
**1. Reduced Fabric Carryover**\
Long sleeves, pant legs, and layered garments can reappear when applying new outfits. A minimal base reduces unwanted fabric overlap.
**2. Cleaner Silhouette**\
Fitted, simple clothing clearly defines body proportions without adding volume. This makes it easier to layer new garments on top.
**3. Fewer Competing Shapes**\
Every visible seam, cuff, and hemline becomes part of the identity anchor. The more geometry included in the base, the more the system has to reconcile later.
A neutral base layer isolates identity from wardrobe. This allows outfits to be swapped more reliably without altering the character’s structure.
Continue on to Elements 301 for advanced character design techniques.
## Makeup Kits as Style Elements
If you're using an existing picture, let's say yourself, hit **Add image to edit or incorporate. Upload** the image. You can also use the **Camera**, pull from the **Library**, or pick an **Element**.
### Character Images (9:16 vs 16:9)
When building a Character Element, vertical (9:16) framing often produces stronger identity anchors than wide (16:9) framing.
Characters are vertical subjects. In a 9:16 image, the face and body occupy more of the frame, increasing identity signal density.
In wider frames, more space is given to background, reducing facial detail and anchor strength.
When identity stability matters, keep the subject prominent and minimize unnecessary background.
Set the aspect ratio to 9:16. The resolution can be at the lowest (1K) until you have an image you want to use. Then you can increase the resolution to 4K.
### Why a Minimal Neutral Outfit Matters
When designing a Character Element intended for wardrobe changes, start with a neutral base layer.
In this example, the character is wearing a simple, fitted tank top and shorts (a unitard-style base).
This isn’t about style — it’s about structure.
A minimal base layer helps for three reasons:
**1. Reduced Fabric Carryover**\
Long sleeves, pant legs, and layered garments can reappear when applying new outfits. A minimal base reduces unwanted fabric overlap.
**2. Cleaner Silhouette**\
Fitted, simple clothing clearly defines body proportions without adding volume. This makes it easier to layer new garments on top.
**3. Fewer Competing Shapes**\
Every visible seam, cuff, and hemline becomes part of the identity anchor. The more geometry included in the base, the more the system has to reconcile later.
A neutral base layer isolates identity from wardrobe. This allows outfits to be swapped more reliably without altering the character’s structure.
Continue on to Elements 301 for advanced character design techniques.
## Makeup Kits as Style Elements