> ## Documentation Index
> Fetch the complete documentation index at: https://hedra.com/docs/llms.txt
> Use this file to discover all available pages before exploring further.
# Elements 101: Beginners
> Learn how to create and use Elements to keep your work consistent.
 At the end of this lesson, you will understand:
* What elements are.
* Why they're needed.
* How to use one.
* How to combine them.
* How to create an element.
## What are Elements?
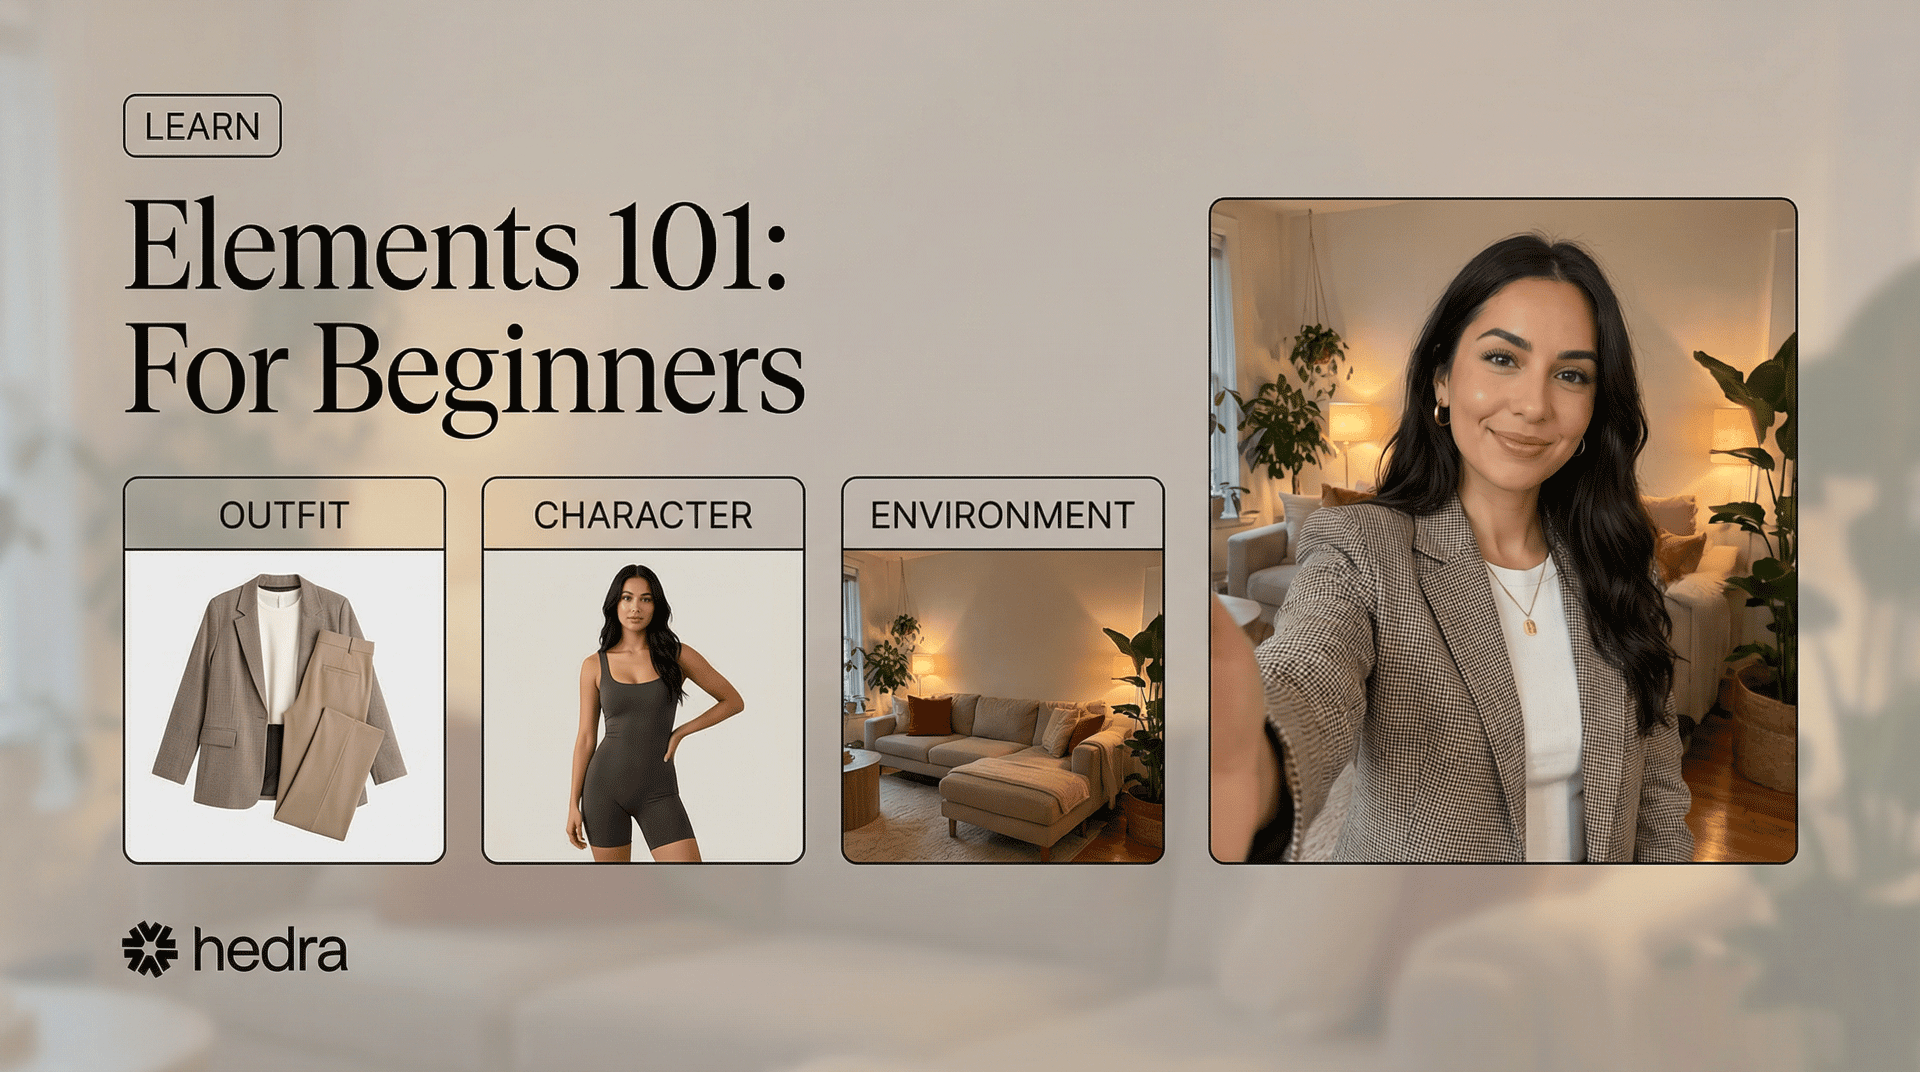
An Element is a saved image that you reuse whenever you want something to stay consistent.
It might be:
* A character
* An outfit
* An environment
* A particular style
* A brand identity
Instead of rebuilding it every time you need to create something, you save it once as an Element and apply it again when needed.
### Why Consistency Matters
Consistency isn’t about perfection.\
It’s about control.
When you create more than one image or scene, small changes start to appear:
* A face looks slightly different
* Clothing changes
* Colors shift
* The overall style drifts
Sometimes that’s fine.\
But often, it isn’t.
* **AI influencers & virtual personas** – Your character needs to look like the same person across posts and videos.
* **UGC creators** – When producing multiple ads or variations, the spokesperson and brand look must stay stable.
* **Short-form video creators** – Visual shifts become obvious once content is animated.
* **Brands & agencies** – Campaign visuals must feel unified across platforms.
* **Series builders** – Recurring characters, settings, or formats need visual continuity.
## Getting Started
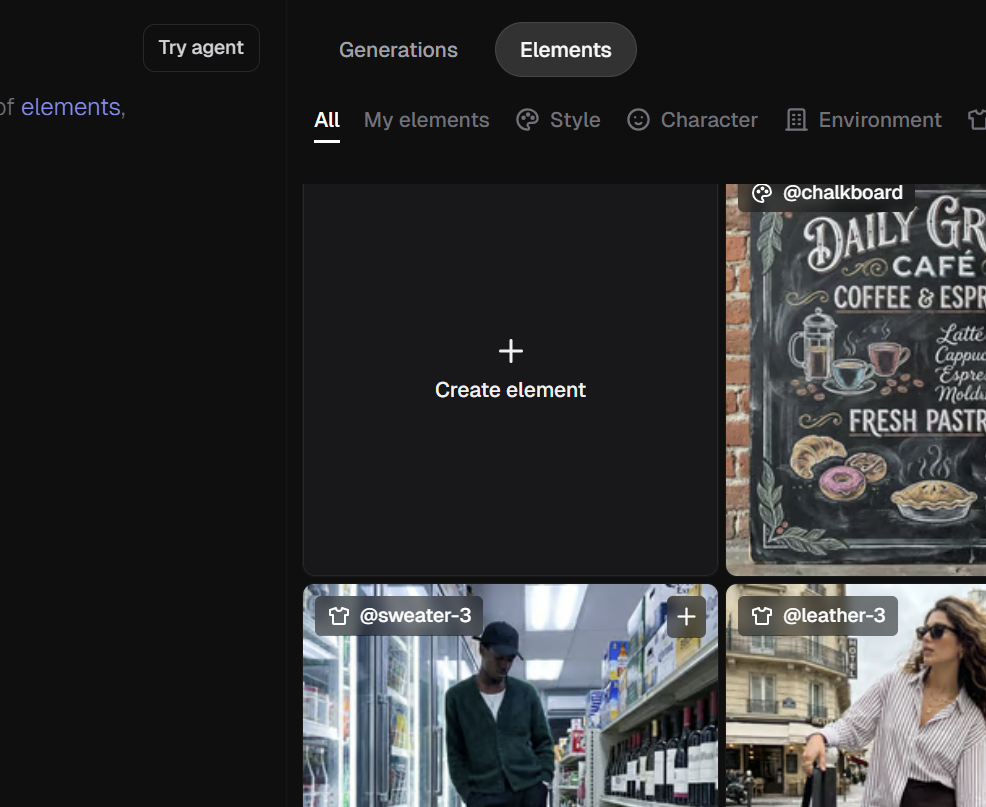
Open: [Image App](https://www.hedra.com/app/image)
At the top, click **Elements**\
Below that, you will see several options as shown here.
At the end of this lesson, you will understand:
* What elements are.
* Why they're needed.
* How to use one.
* How to combine them.
* How to create an element.
## What are Elements?
An Element is a saved image that you reuse whenever you want something to stay consistent.
It might be:
* A character
* An outfit
* An environment
* A particular style
* A brand identity
Instead of rebuilding it every time you need to create something, you save it once as an Element and apply it again when needed.
### Why Consistency Matters
Consistency isn’t about perfection.\
It’s about control.
When you create more than one image or scene, small changes start to appear:
* A face looks slightly different
* Clothing changes
* Colors shift
* The overall style drifts
Sometimes that’s fine.\
But often, it isn’t.
* **AI influencers & virtual personas** – Your character needs to look like the same person across posts and videos.
* **UGC creators** – When producing multiple ads or variations, the spokesperson and brand look must stay stable.
* **Short-form video creators** – Visual shifts become obvious once content is animated.
* **Brands & agencies** – Campaign visuals must feel unified across platforms.
* **Series builders** – Recurring characters, settings, or formats need visual continuity.
## Getting Started
Open: [Image App](https://www.hedra.com/app/image)
At the top, click **Elements**\
Below that, you will see several options as shown here.
 **All:** Shows all available public elements to pick from.\
**My Elements:** Shows any elements that you have created.\
**Style, Character, Environment, Outfit and Brand Identity** sorts public elements by type.
## How to Use and Combine Elements
### Step 1:
Below Elements, select **Character** from the menu and then pick from one of the available models. To do this, hover over on the element, which will then say **Use** and click it. It will change to **Remove** and the character is now added to your prompt.
### Step 2:
Next, with a character already selected, now click **Environment** on the top menu. Follow the same steps to pick your scene as you did the character and click **Use** on the image.
**All:** Shows all available public elements to pick from.\
**My Elements:** Shows any elements that you have created.\
**Style, Character, Environment, Outfit and Brand Identity** sorts public elements by type.
## How to Use and Combine Elements
### Step 1:
Below Elements, select **Character** from the menu and then pick from one of the available models. To do this, hover over on the element, which will then say **Use** and click it. It will change to **Remove** and the character is now added to your prompt.
### Step 2:
Next, with a character already selected, now click **Environment** on the top menu. Follow the same steps to pick your scene as you did the character and click **Use** on the image.
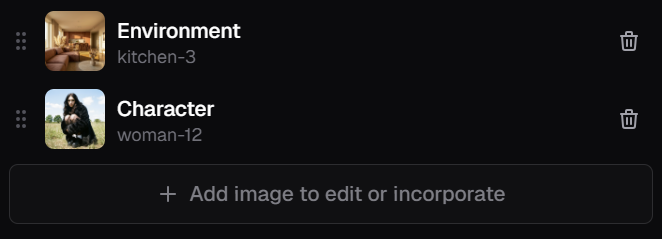 Above the prompt box area, you should now have your **Character** and **Environment** elements loaded like in this example.
### Step 3:
Now you will need to select an image generator or you can simply go with the default. Different generators range in price and quality. By default, it uses *Nano Banana Pro*, which is one of the leading models and great for building with Elements.
### Step 4:
Next is your **aspect ratio (16:9, 1:1:, 9:16), resolution (1K, 2K, 4K) and batch size (1-8).**
### Step 5:
Lastly, in your prompt, **Describe your image**.
Your prompt can be as simple as "Place character in environment" or "Have character relaxing on the couch" depending on what you're trying to achieve. For this, you can use the **Enhance Prompt** wand to improve on your prompt.
### Step 6:
When you're ready, click the to start generating your image.
**Congratulations!** You have just used and combined your first **Elements**.
Above the prompt box area, you should now have your **Character** and **Environment** elements loaded like in this example.
### Step 3:
Now you will need to select an image generator or you can simply go with the default. Different generators range in price and quality. By default, it uses *Nano Banana Pro*, which is one of the leading models and great for building with Elements.
### Step 4:
Next is your **aspect ratio (16:9, 1:1:, 9:16), resolution (1K, 2K, 4K) and batch size (1-8).**
### Step 5:
Lastly, in your prompt, **Describe your image**.
Your prompt can be as simple as "Place character in environment" or "Have character relaxing on the couch" depending on what you're trying to achieve. For this, you can use the **Enhance Prompt** wand to improve on your prompt.
### Step 6:
When you're ready, click the to start generating your image.
**Congratulations!** You have just used and combined your first **Elements**.
 ## How to Create Elements
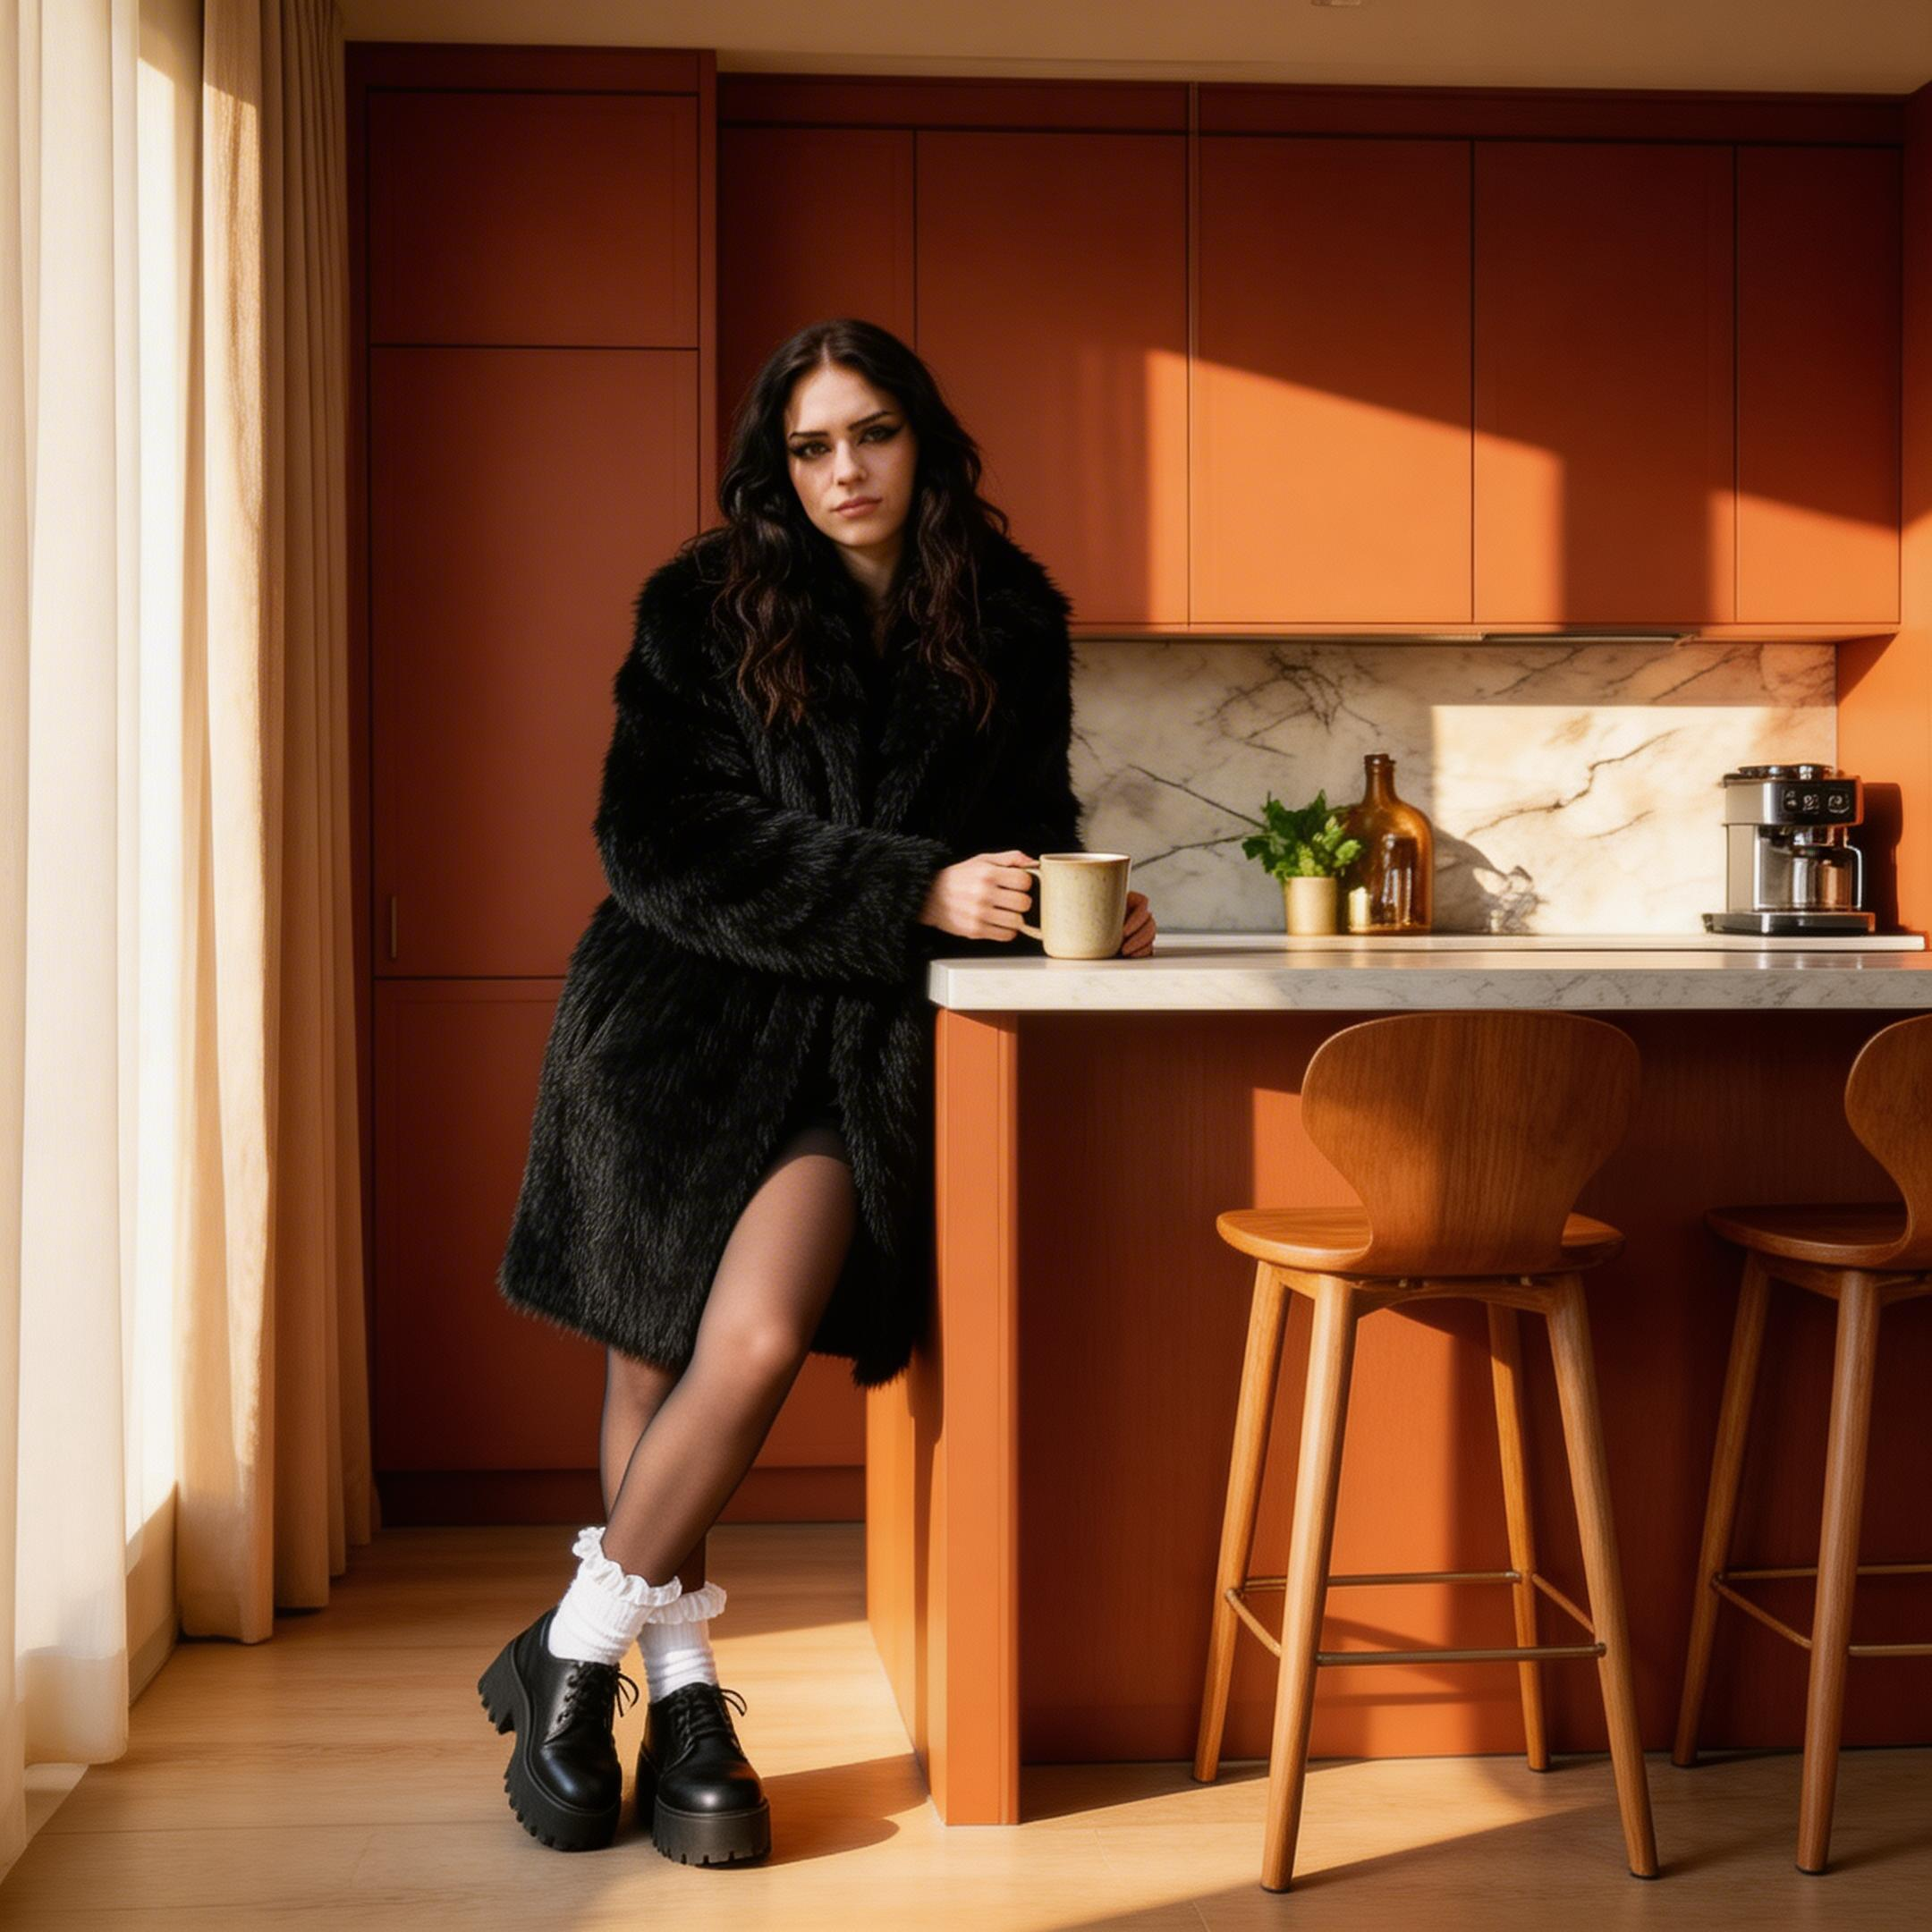
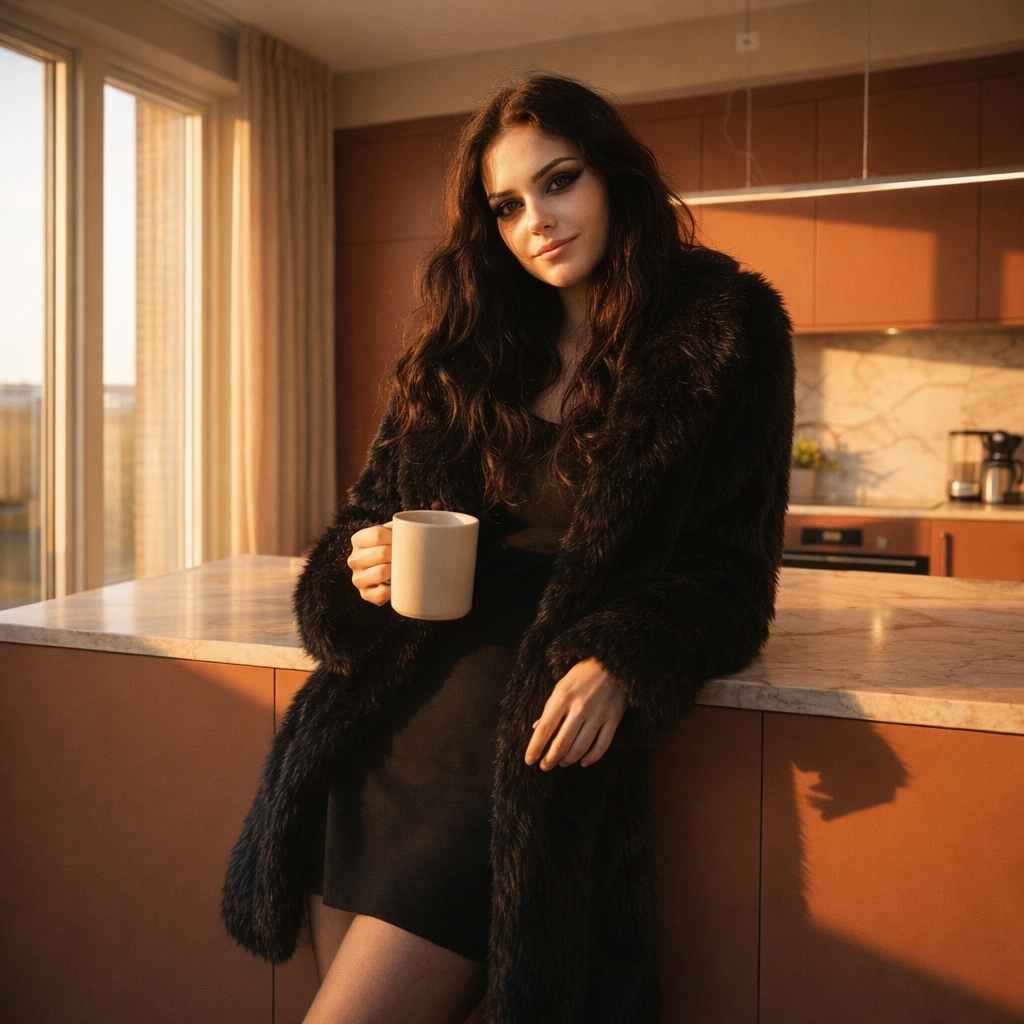
Now that you're familiar with using and combining Elements, let's create a new one using an output image from the previous section.
By now, you should be familiar with how to access the [Elements](https://www.hedra.com/app/image) page.
### Step 1:
Click on **Create element**
## How to Create Elements
Now that you're familiar with using and combining Elements, let's create a new one using an output image from the previous section.
By now, you should be familiar with how to access the [Elements](https://www.hedra.com/app/image) page.
### Step 1:
Click on **Create element**
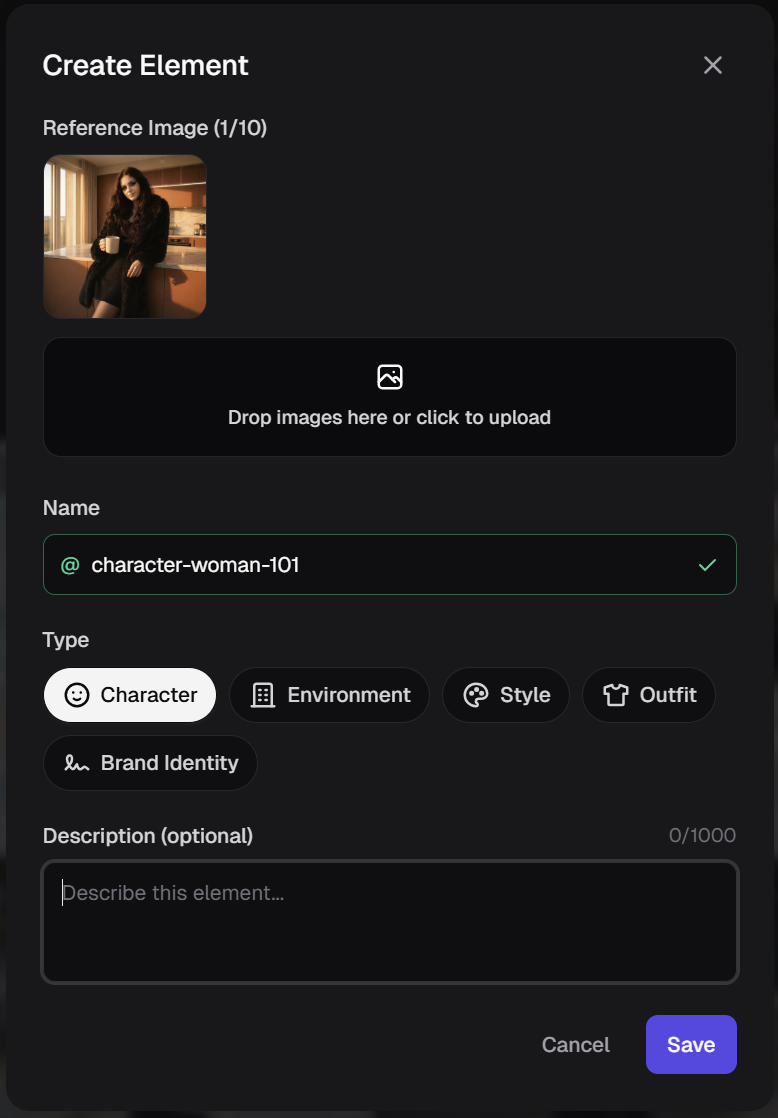
 The **Create Element** window will pop-up.
 ### Step 2:
**Click to upload or drag and drop** the image into the reference image box. Now give it a **Name**. Then select the **Type**. (You can also add an optional description.) Finally, hit **Save**.
Next, click **My Elements** on the top menu to view your elements.
### Step 2:
**Click to upload or drag and drop** the image into the reference image box. Now give it a **Name**. Then select the **Type**. (You can also add an optional description.) Finally, hit **Save**.
Next, click **My Elements** on the top menu to view your elements.
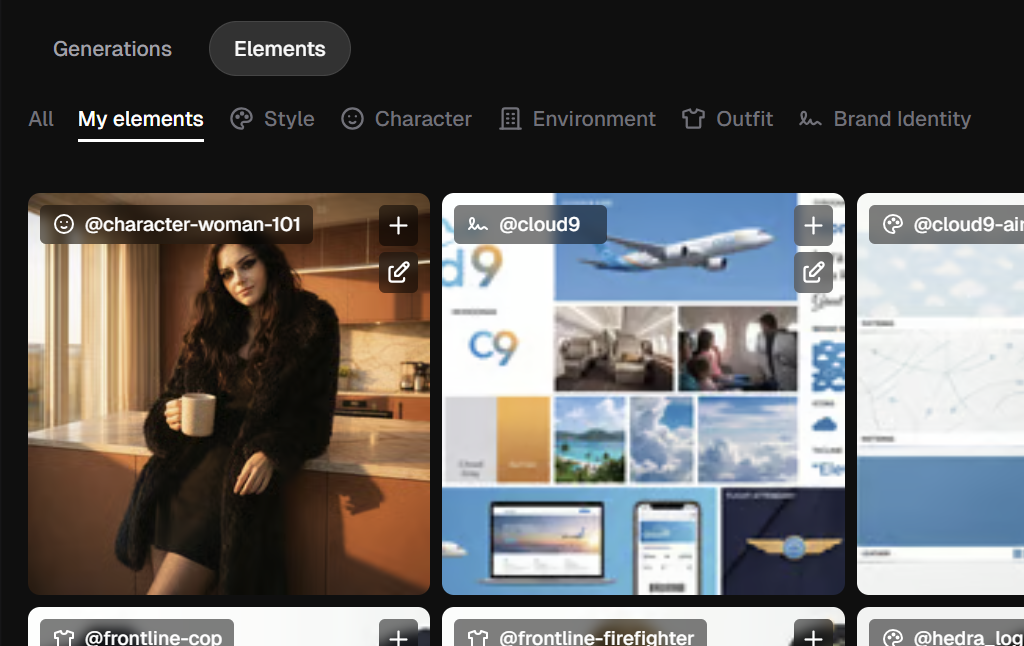 **Congratulations!** You've now made your first character!
To use them, you'd repeat the steps from section one (*How to Use and Combine Elements*). Click the on your new character element to **Use** it. You can combine it with other elements, or use it alone.
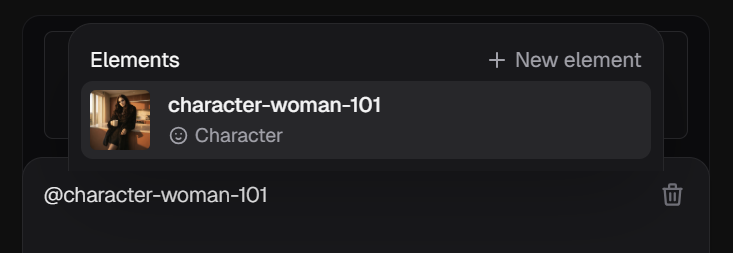
Tip: You can call your element into the prompt box by using @your-element-name
**Congratulations!** You've now made your first character!
To use them, you'd repeat the steps from section one (*How to Use and Combine Elements*). Click the on your new character element to **Use** it. You can combine it with other elements, or use it alone.
Tip: You can call your element into the prompt box by using @your-element-name
 Have them wave at the camera.
> Prompt: **Character is waving at the camera.**
Click to generate and done!
Have them wave at the camera.
> Prompt: **Character is waving at the camera.**
Click to generate and done!
 ### For Best Results
* **Use close-up shots** for character elements.
* **Use 16:9 images** to create environment elements.
* **Name and tag Elements** so they’re easy to find later.
* **Start with Elements first**, then refine your prompts around them.
## What's Next?
Once you're comfortable with using, combining and creating elements, try moving to the next level.
[**Elements 201: Content Creators**](https://www.hedra.com/docs/pages/app/content-creation/elements-201-content-creators)
Some of the things you'll learn:
* Intro to Advanced Elements
* Designing Elements for Control
* How to Identify Drift in Design
* Strong Anchors for Easy Prompts
* Building Makeup Kits into Styles
### For Best Results
* **Use close-up shots** for character elements.
* **Use 16:9 images** to create environment elements.
* **Name and tag Elements** so they’re easy to find later.
* **Start with Elements first**, then refine your prompts around them.
## What's Next?
Once you're comfortable with using, combining and creating elements, try moving to the next level.
[**Elements 201: Content Creators**](https://www.hedra.com/docs/pages/app/content-creation/elements-201-content-creators)
Some of the things you'll learn:
* Intro to Advanced Elements
* Designing Elements for Control
* How to Identify Drift in Design
* Strong Anchors for Easy Prompts
* Building Makeup Kits into Styles